Annie’s CardMaker Kit-of-the-Month Club October 2019 Review + 80% Off Coupon

Today, we are reviewing Annie’s CardMaker Kit-of-the-Month Club October kit!
About Annie’s CardMaker Kit-of-the-Month Club
Annie's CardMaker Kit-of-the-Month Club sends you most of the supplies and instructions you need to make 8-10 high quality hand made cards! I personally love getting hand made cards, and really enjoy making them too!
Price: $19.95 / month
Shipping: $5.95
Ships to: US and Canada
DEAL #1: Get your first month for only $4.00 with coupon HOLIDAYCARD and this link! That's 80% off the normal cost!
DEAL #2: Get 50% off your first month of Annie's Card Maker Club with coupon MONTHLY15.
As seen on 9 Best Annie's Kit Clubs Subscription Boxes.
We received this card kit for review purposes.
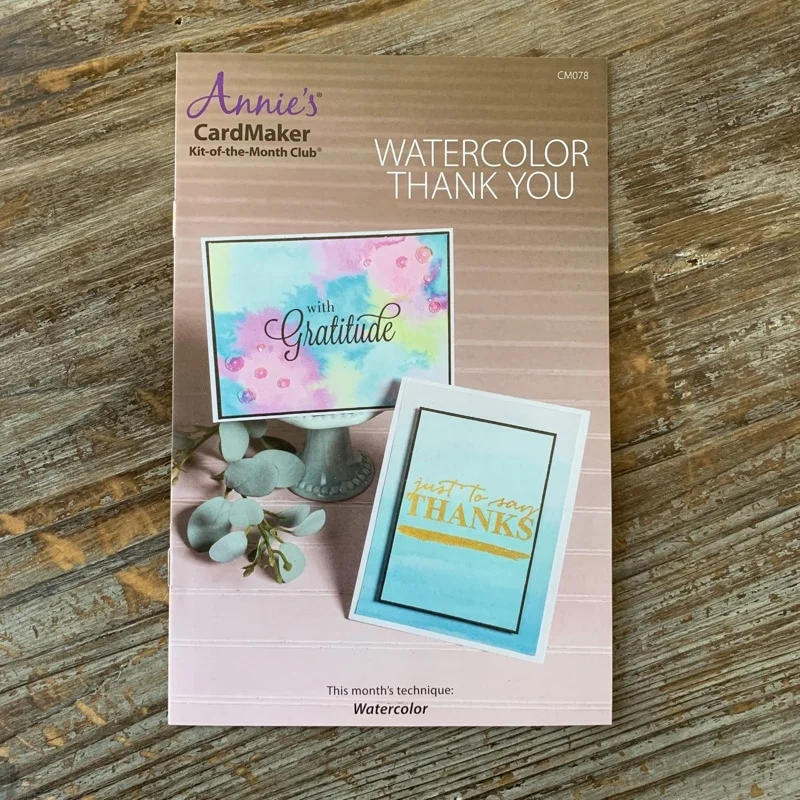
Annie’s CardMaker Kit-of-the-Month Club October 2019 Review
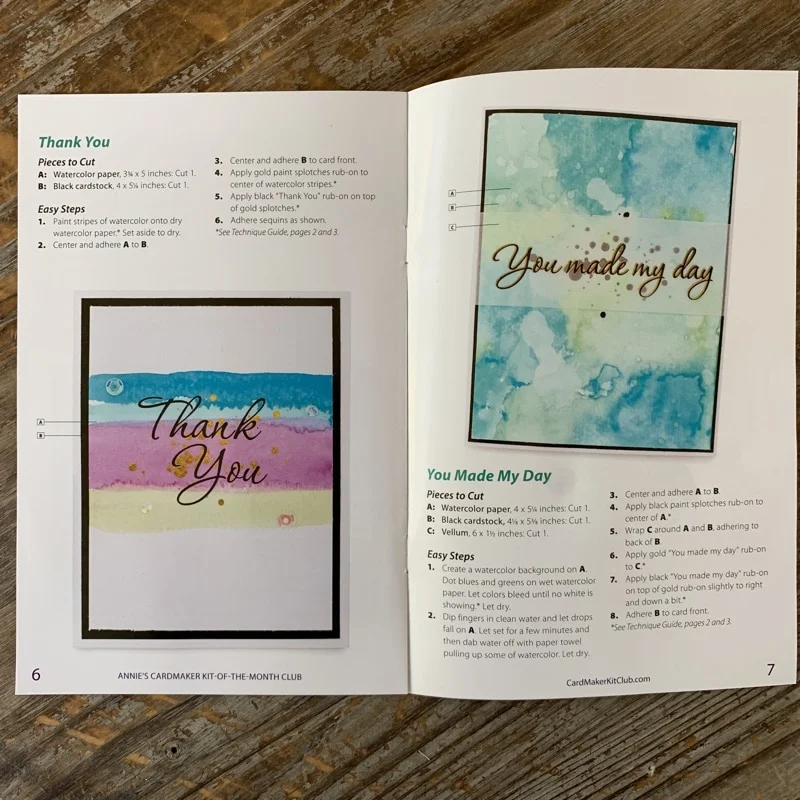
I was happy to see a Thank You theme in the material's in this month's kit. It came just in time for Thanksgiving!
The theme of the October kit is Watercolor Thank You.
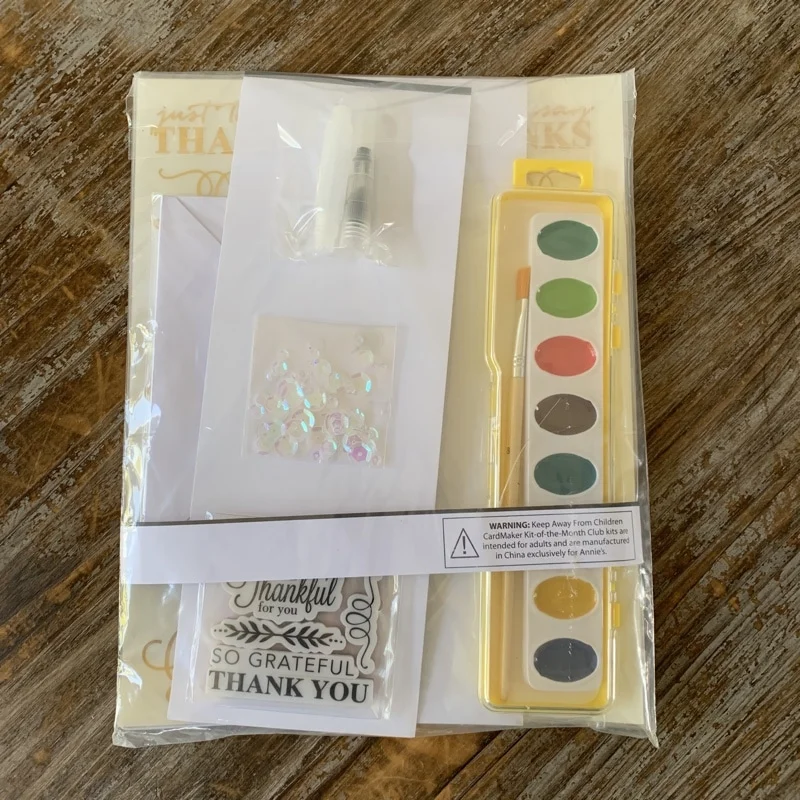
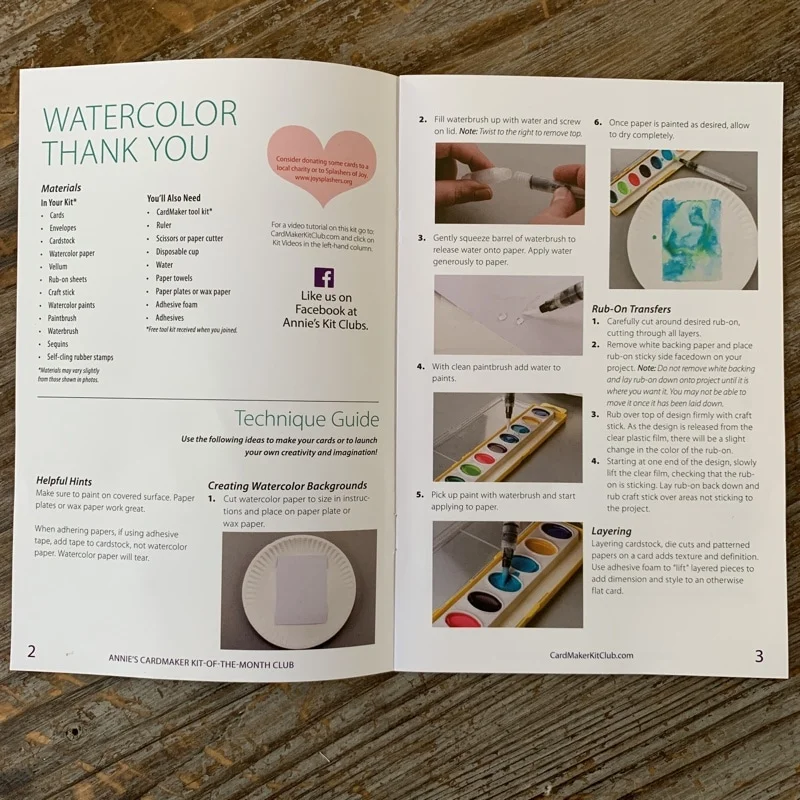
The info booklet tells you what materials you need, and also has detailed instructions on how to assemble each card.
For this kit,you'll need the CardMaker took kit (which comes with your first kit), a ruler, scissors or paper cutter, water, paper towels, paper plates, and adhesive.
Our favorite paper cutter is this Fiskars Rotary Trimmer and faborite adhesive to use is Tombow Mono Adhesive Applicator. We found that we also need to use a craft glue stick and tacky glue for this kit.
This card kit teaches you how to make watercolor backgrounds using the included watercolor paints and watercolor paper. I have never done this before, so don't judge. 🙂
Now, let's get on to see what materials are in this kit!
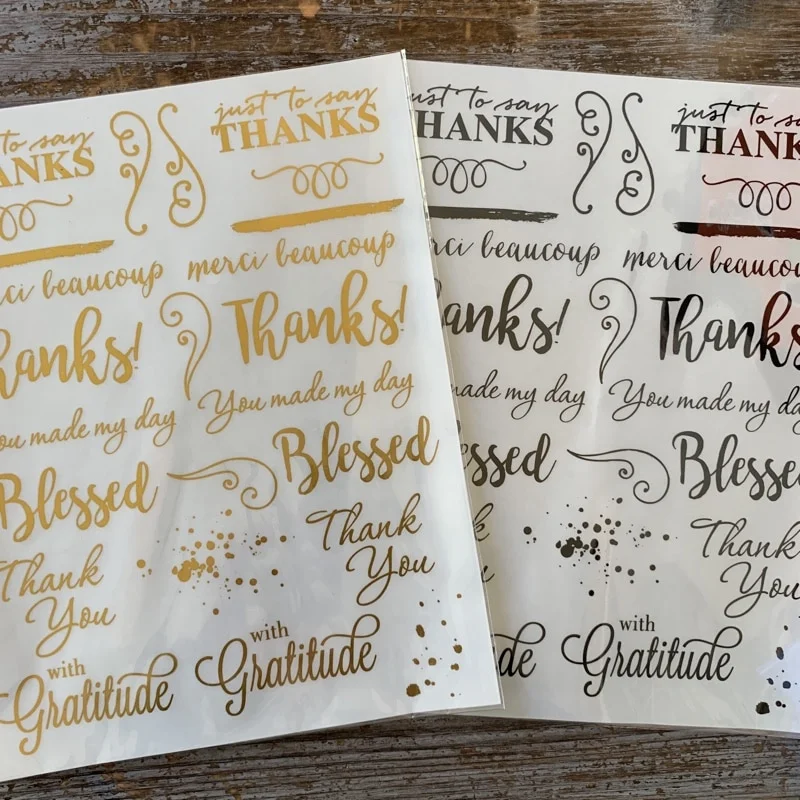
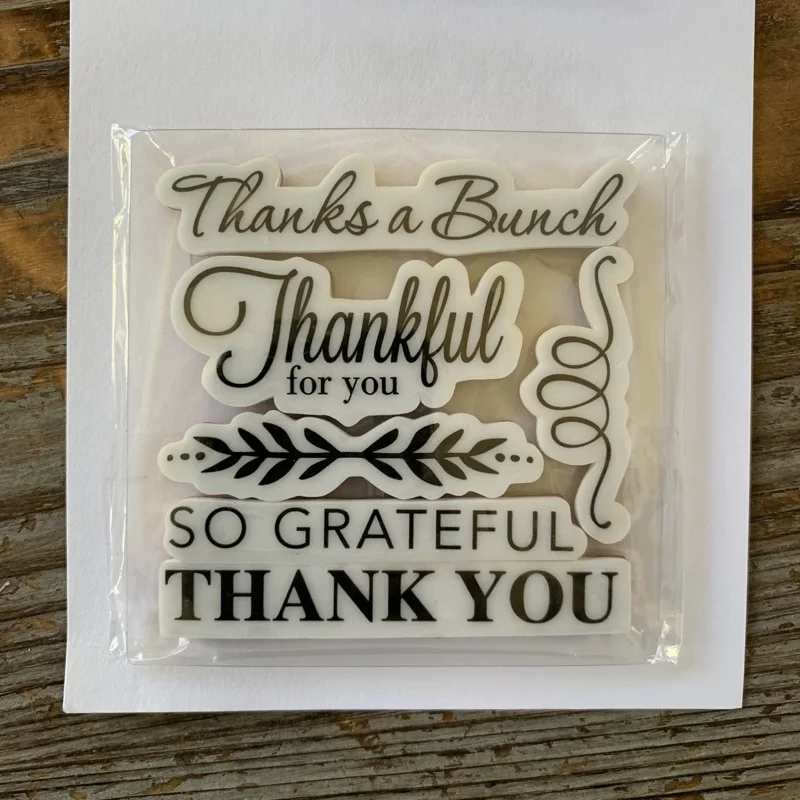
Thank You Themed Rub-On Sheets
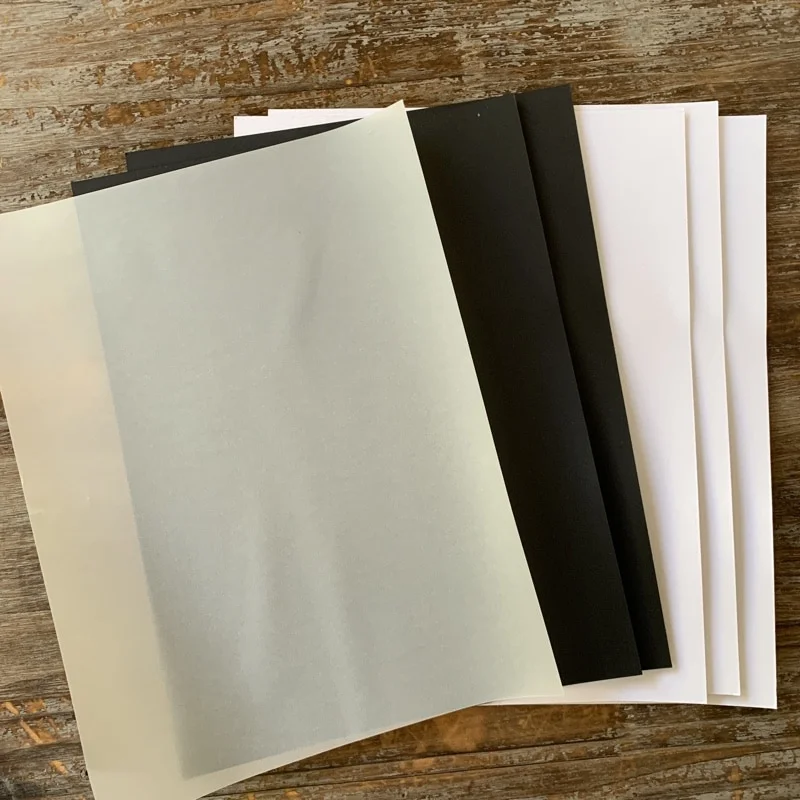
Cardstock, Vellum, and Watercolor Paper
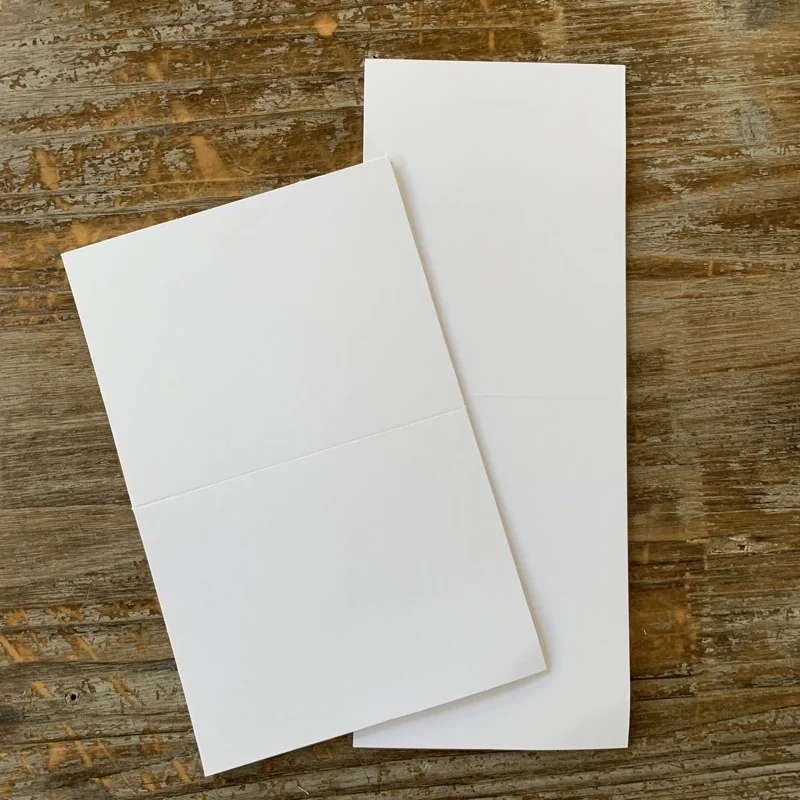
Pre-Scored Cards
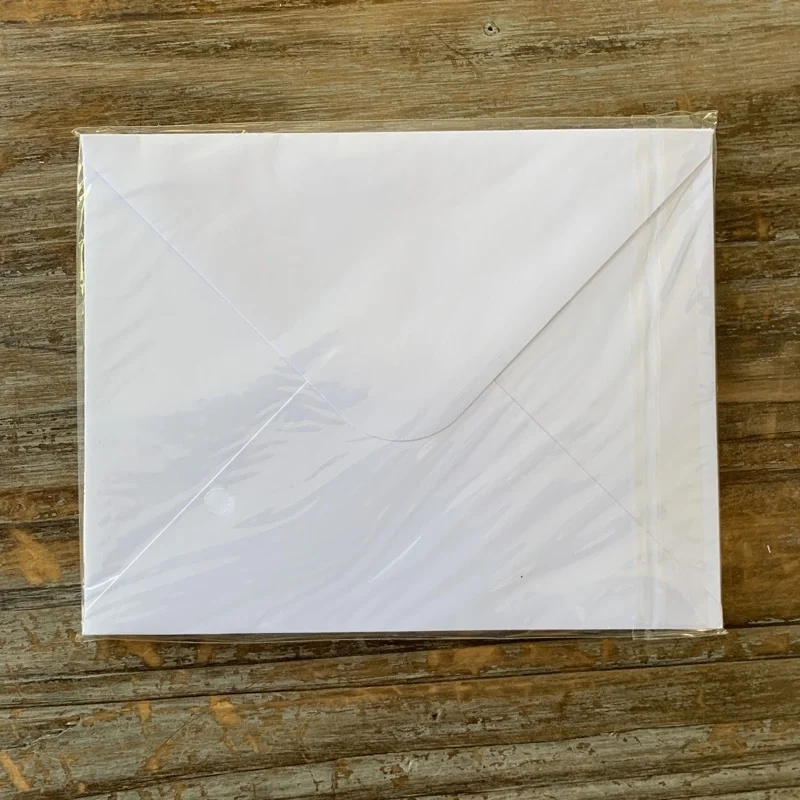
8 Envelopes
Watercolor Paints
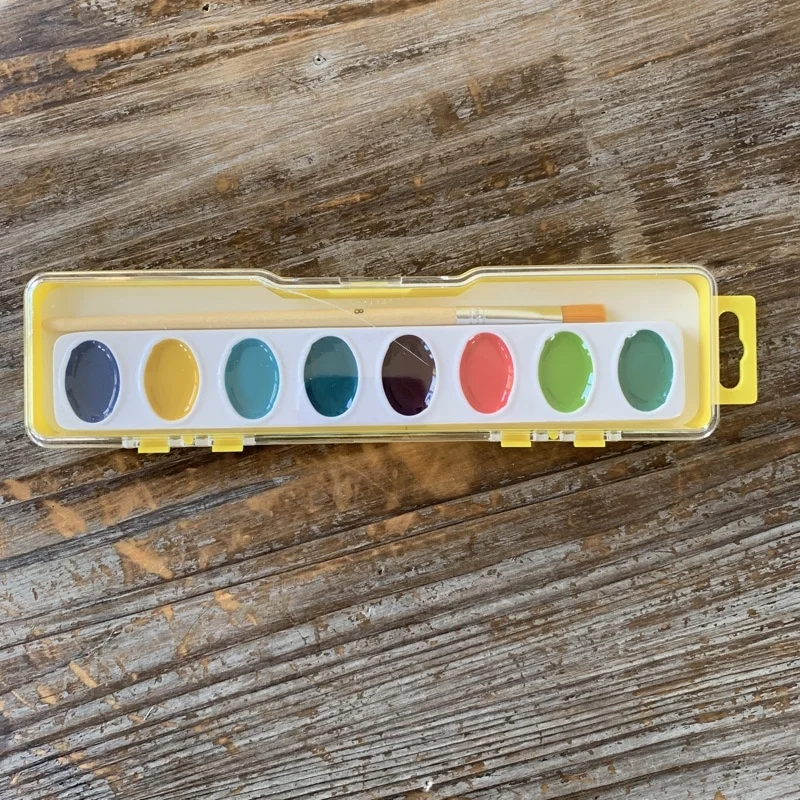
Waterbrush
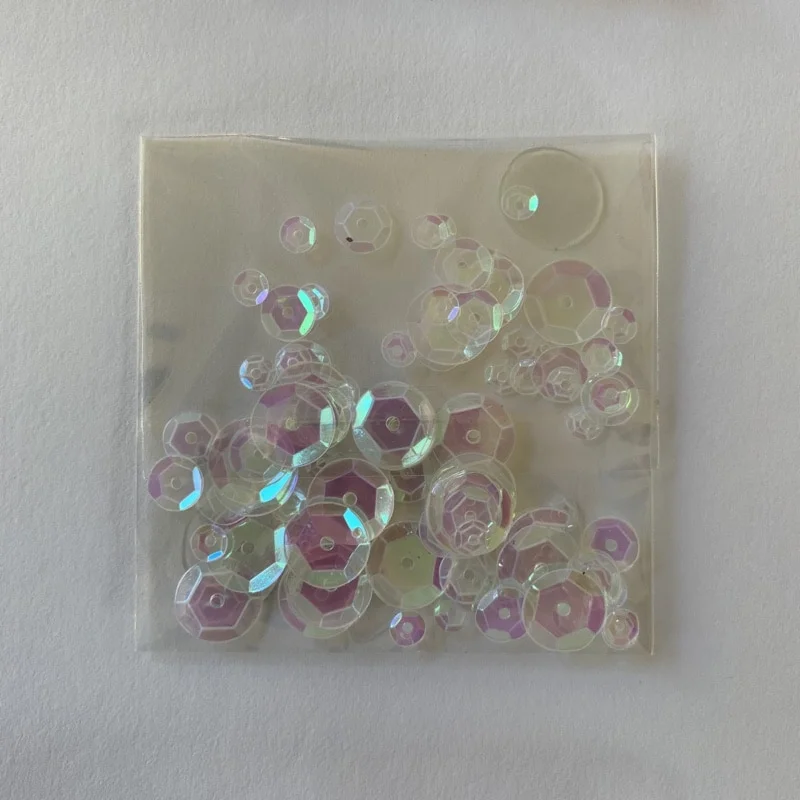
Sequins
Self-Cling Thank You Rubber Stamps
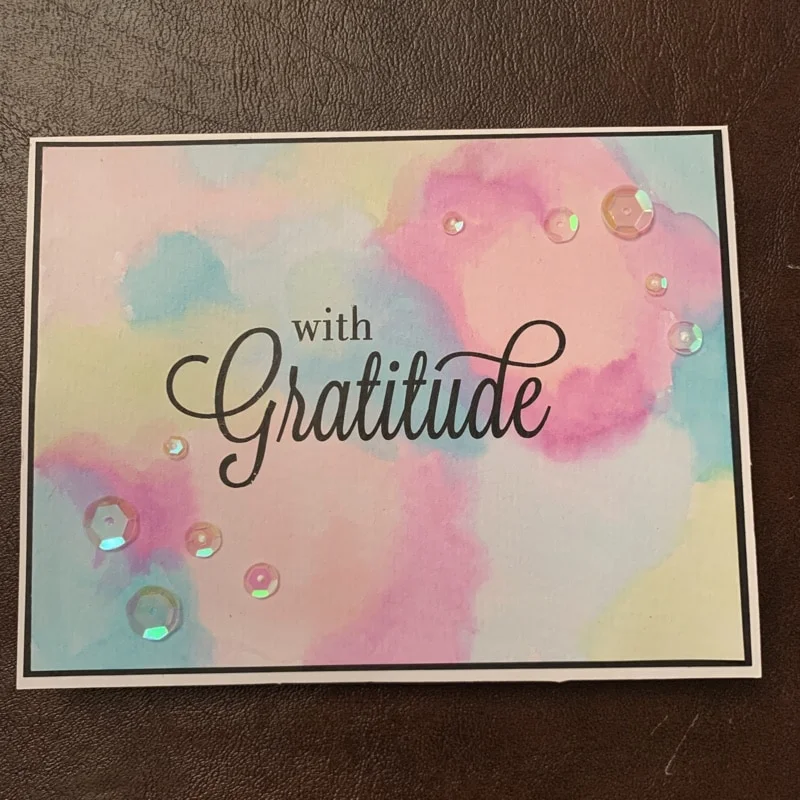
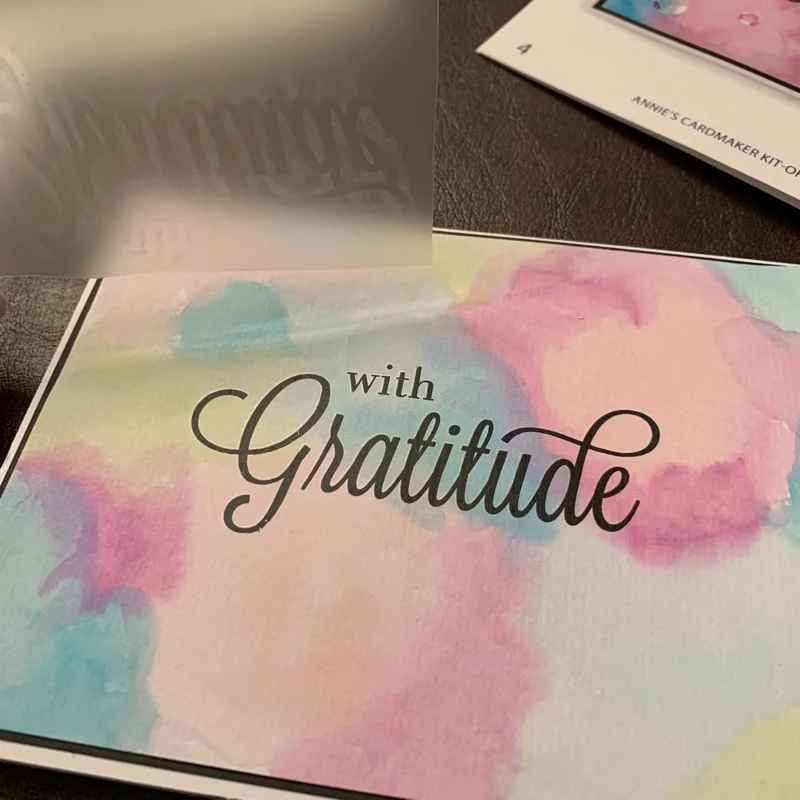
Card #1 – With Gratitude Card
This is our completed first card – “With Gratitude”!
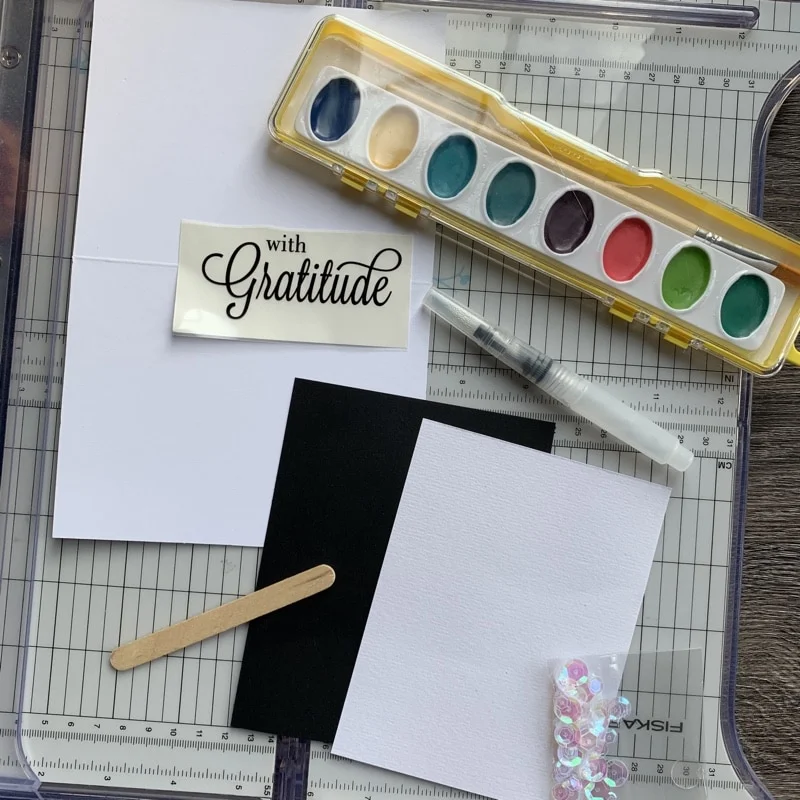
These were all of the materials we needed for this card. You will need to cut the cardstock per the instructions in the booklet.
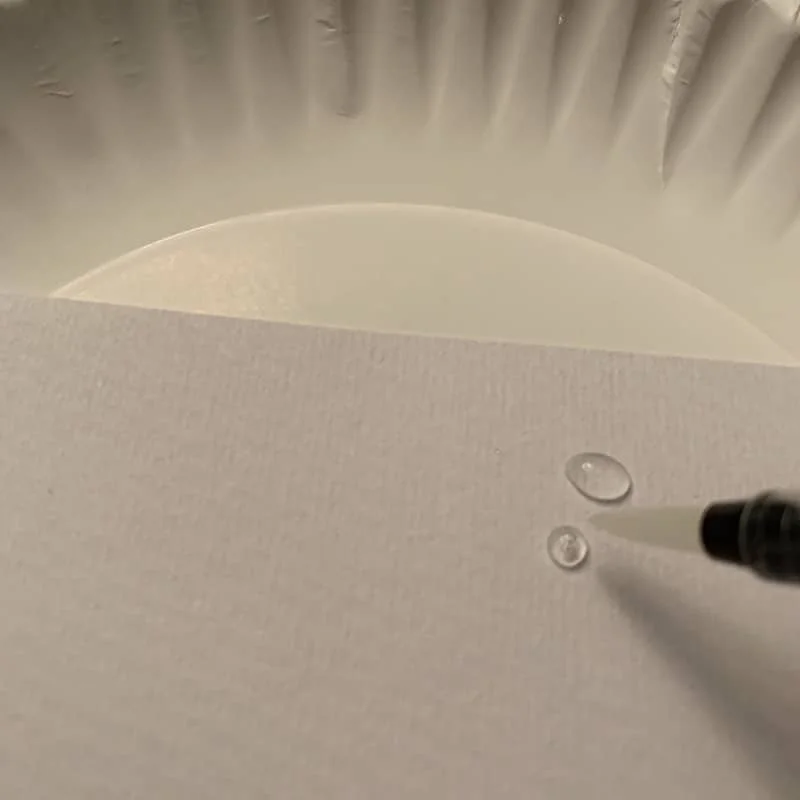
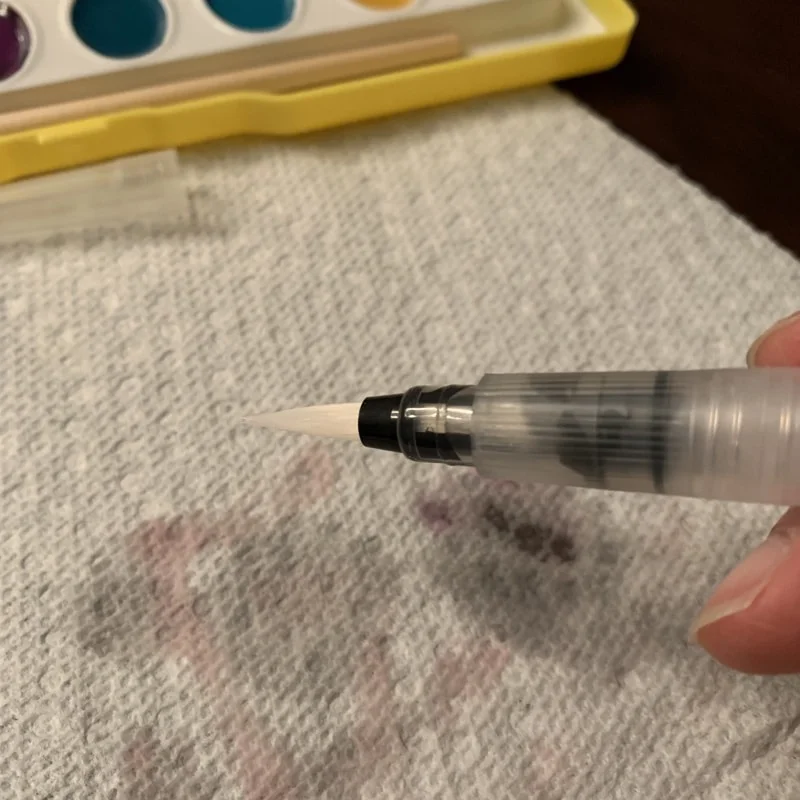
The waterbrush was really fun and easy to use. You fill the barrel with water, and then squeeze the pen to drop water out onto paper or your watercolor paints.
Here, you can see me dipping into the paint.
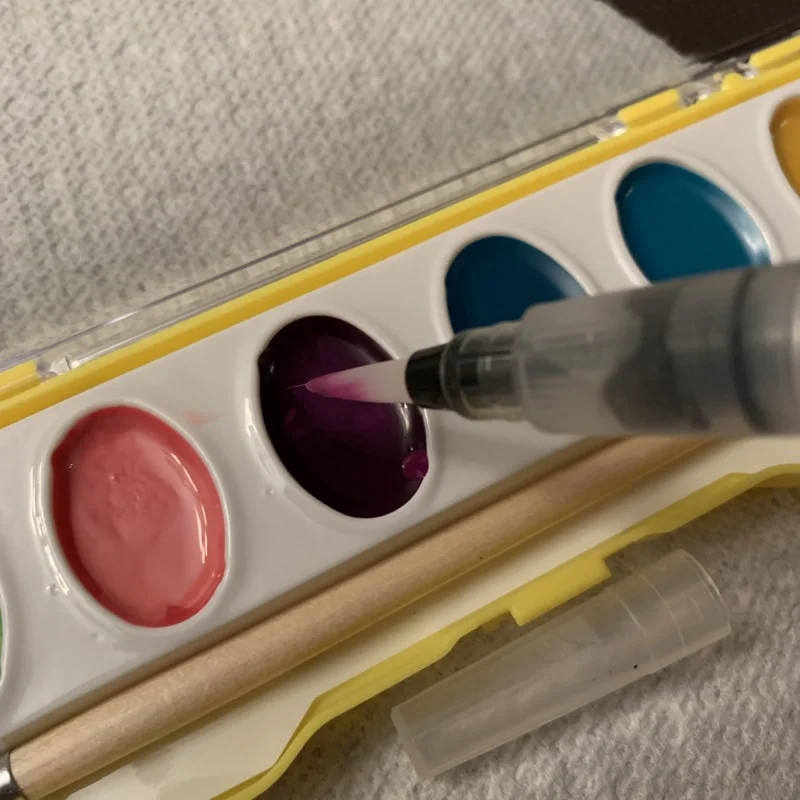
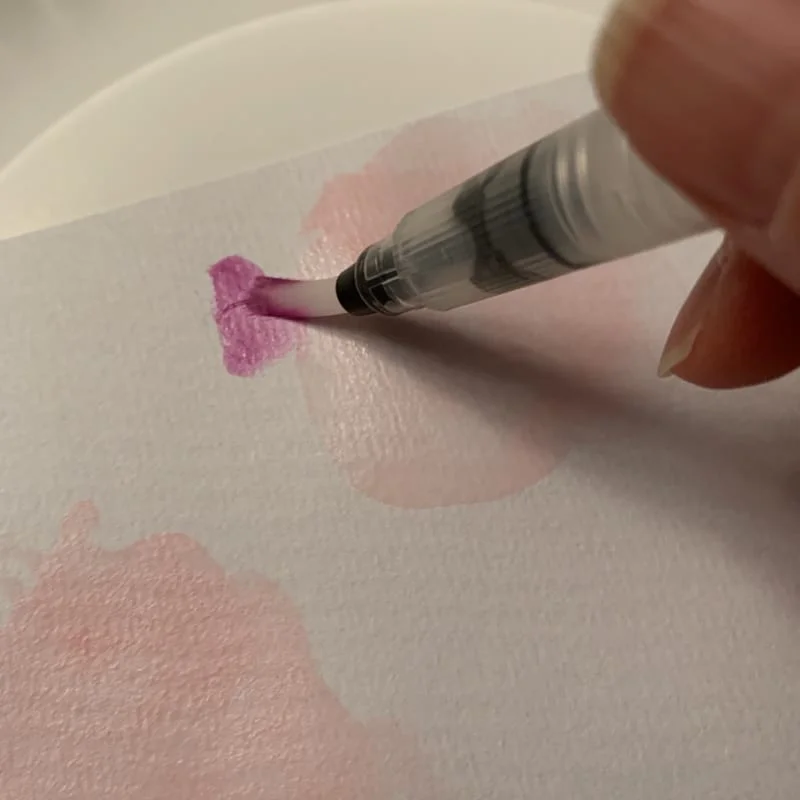
Applying the paint was super easy and mess-free!
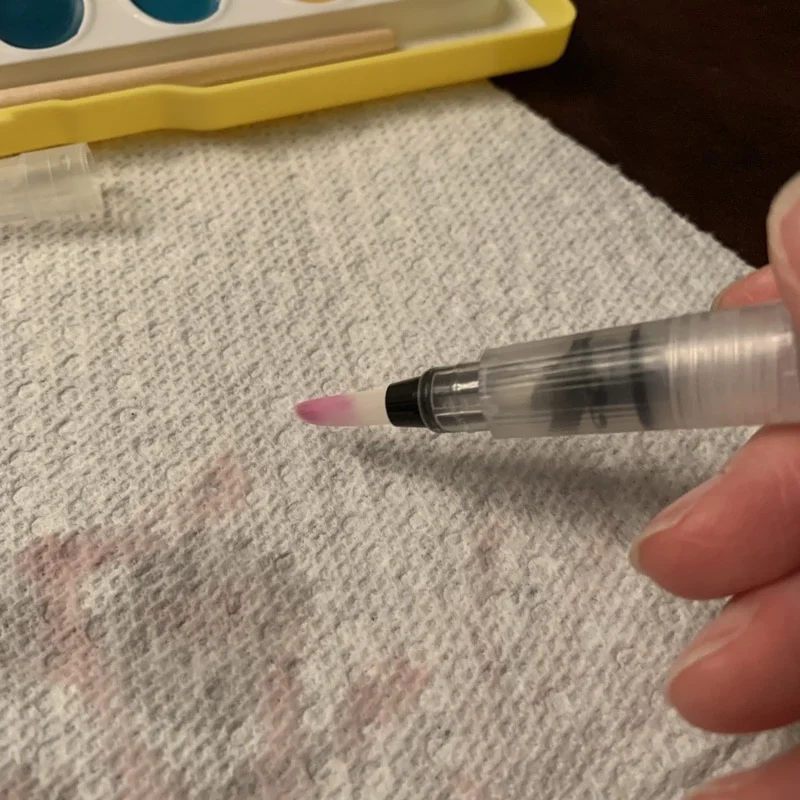
To “clean” the brush and remove color, there is no messy water cup to deal with. All you need to do is squeeze the pen to get more water out and rub it on a paper towel until you get a clean brush.
I could totally see buying my kids more of these pens because there is no water cup or mess involved!
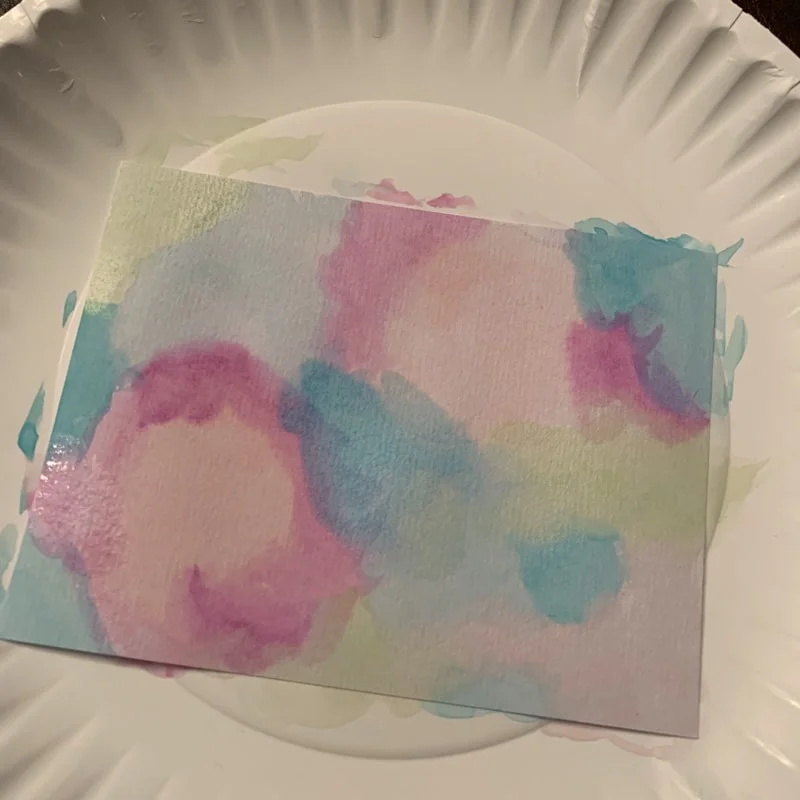
Here is the watercolor background for our first card.
This is the first time I have really used rub-ons before, but I really love the look!
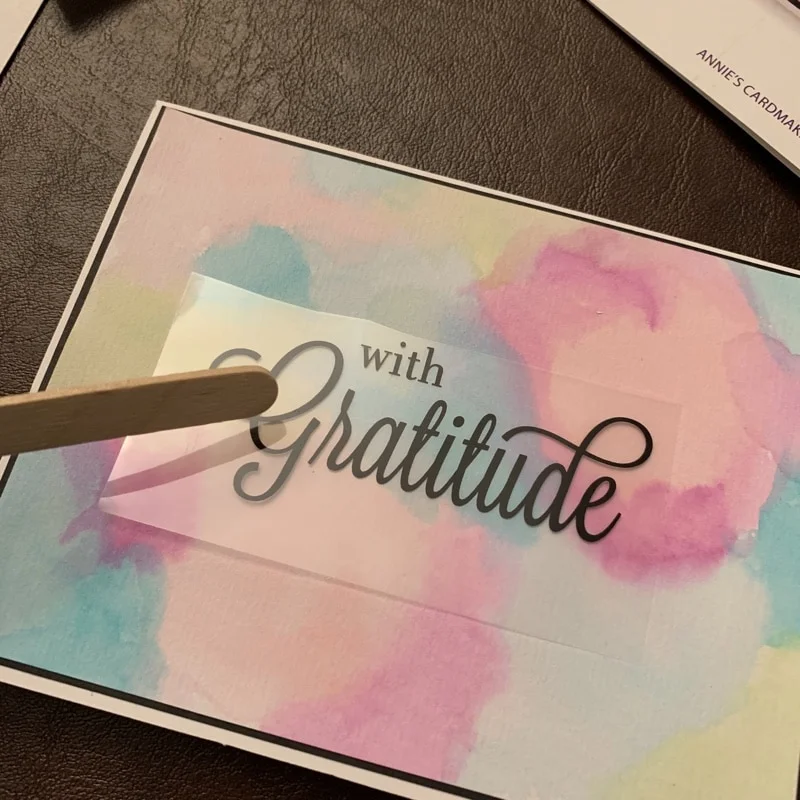
The lettering looks so professional and it was super easy to run on!
I ended up making 2 slightly different cards using this watercolor background.
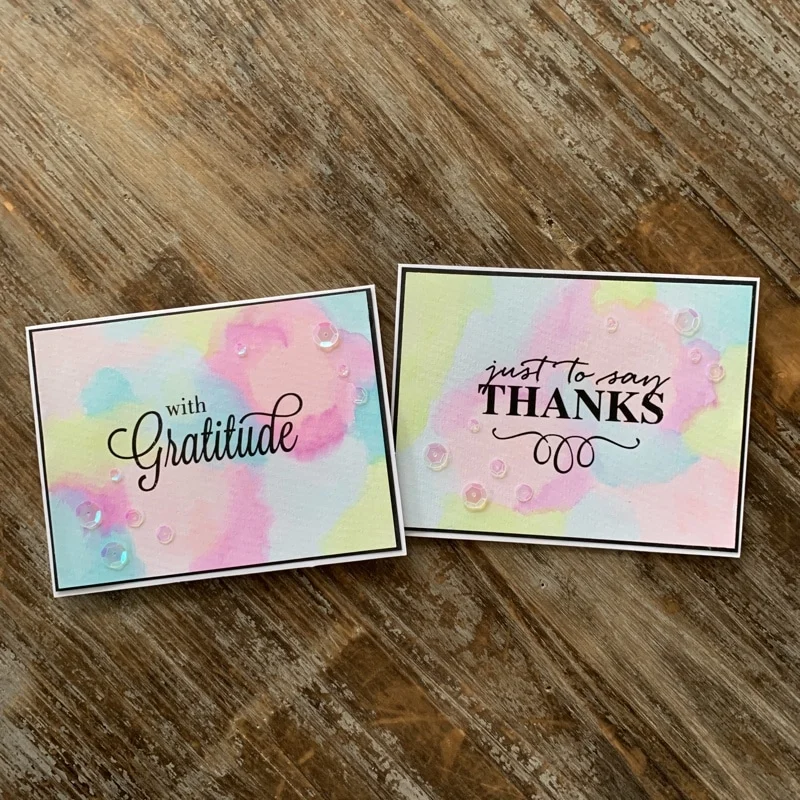
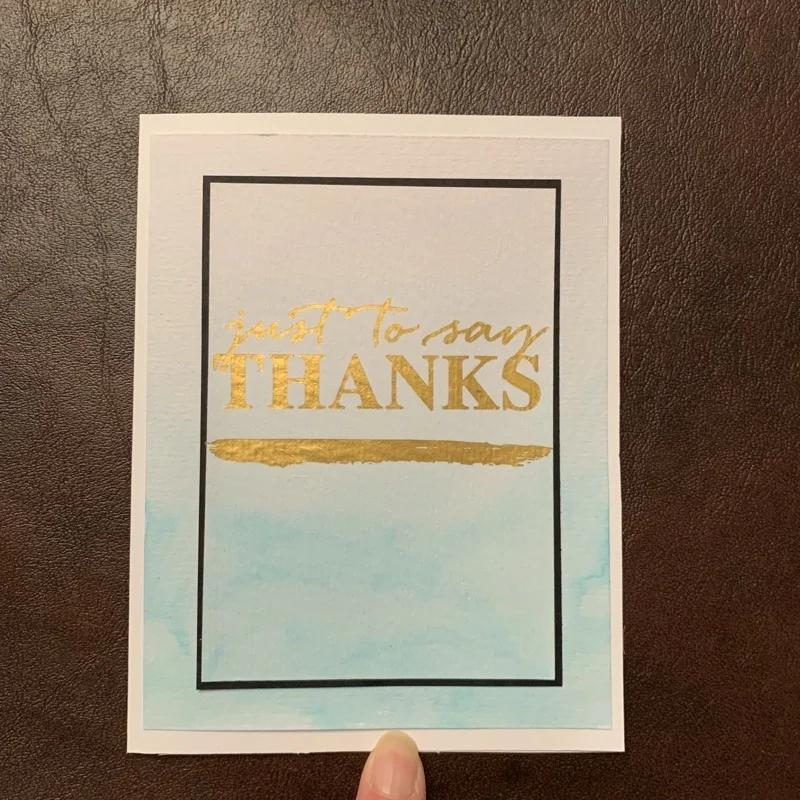
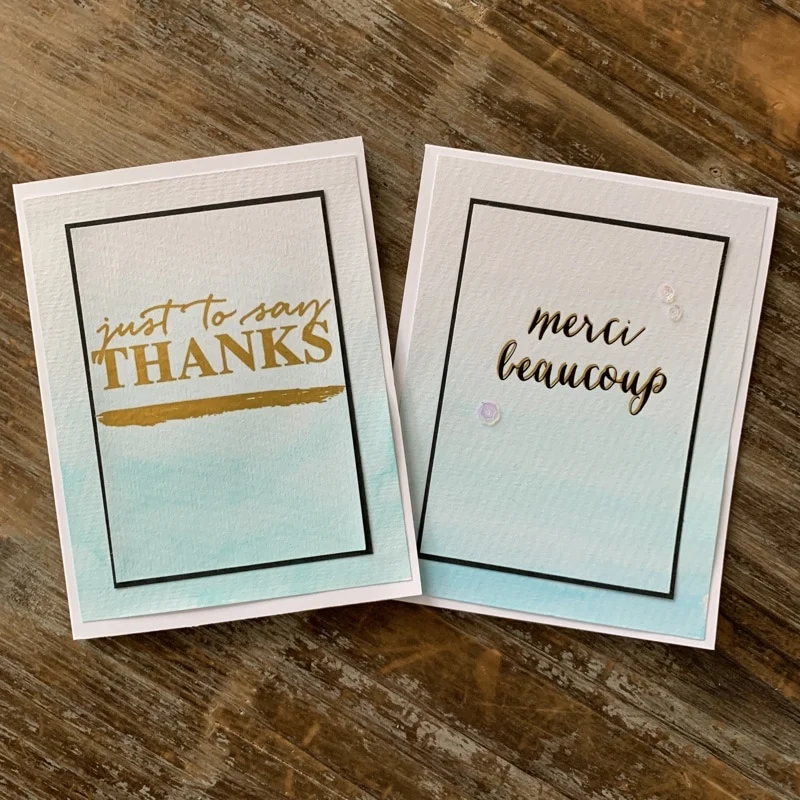
Card #2 – Just to Say Thanks
This is our second complete card – “Just to Say Thanks”!
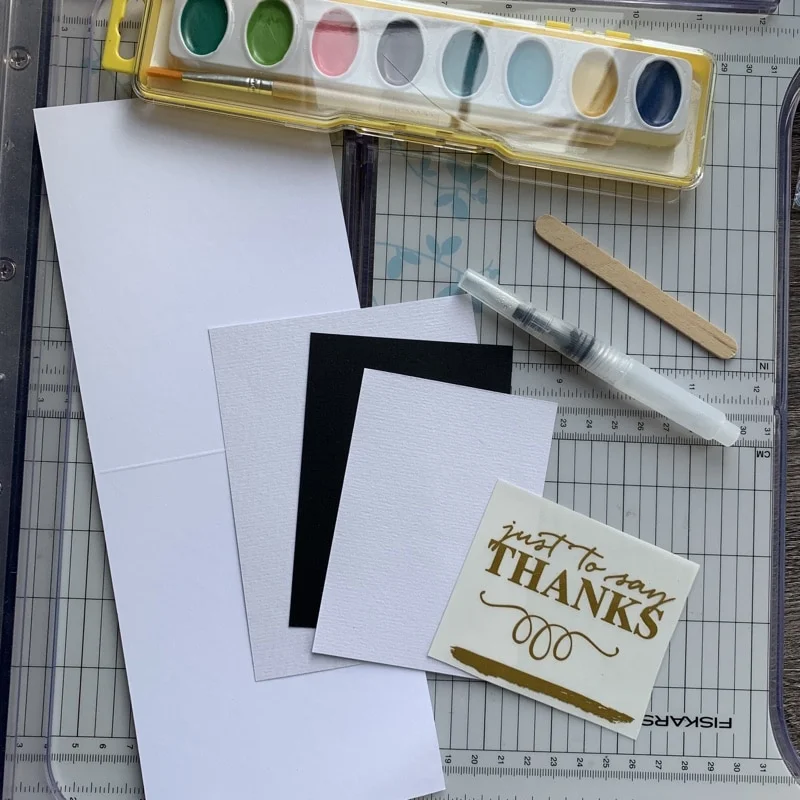
These were all of the materials we needed for this card.
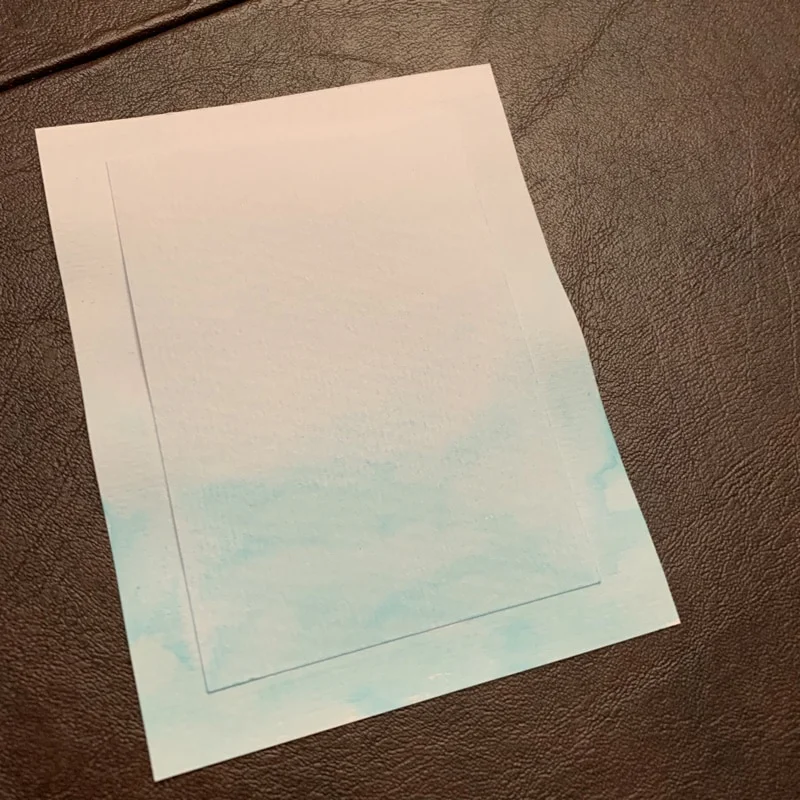
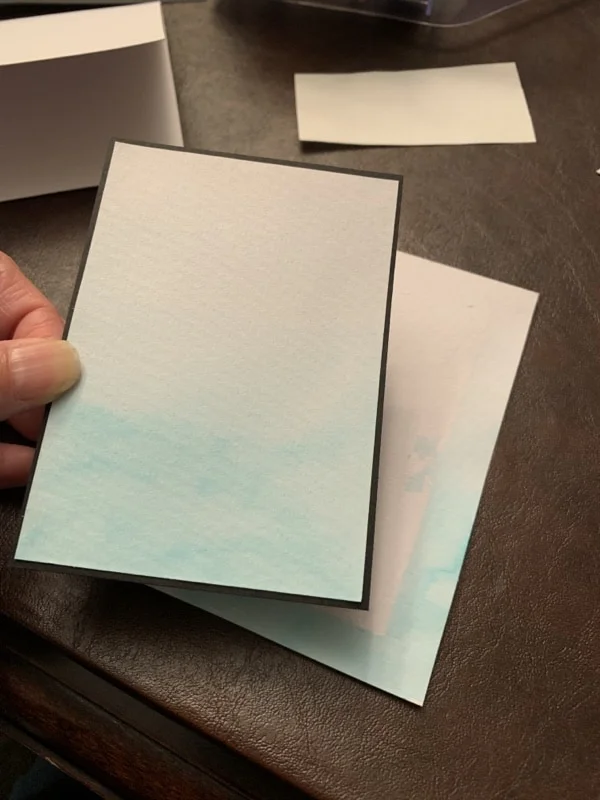
Here is the watercolor background for our second card. This card layers 2 pieces of cardstock together and you make the bottom of the card darker and brush up until you don't see any more color on your brush.
This card design included putting black cardstock behind the smaller piece of cardstock to create contrast.
Here is the completed card along with another variation that I made.
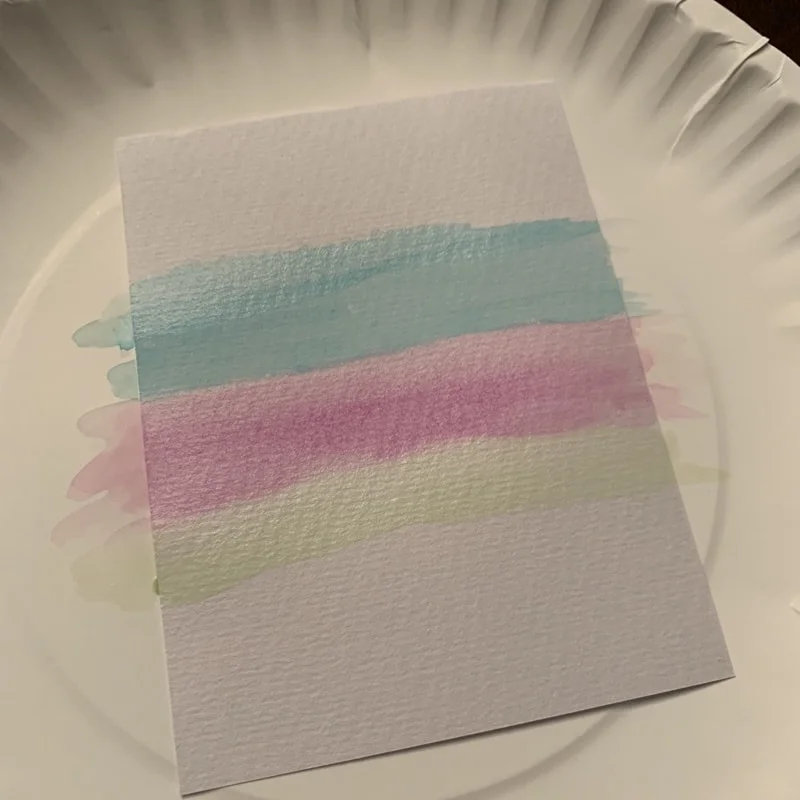
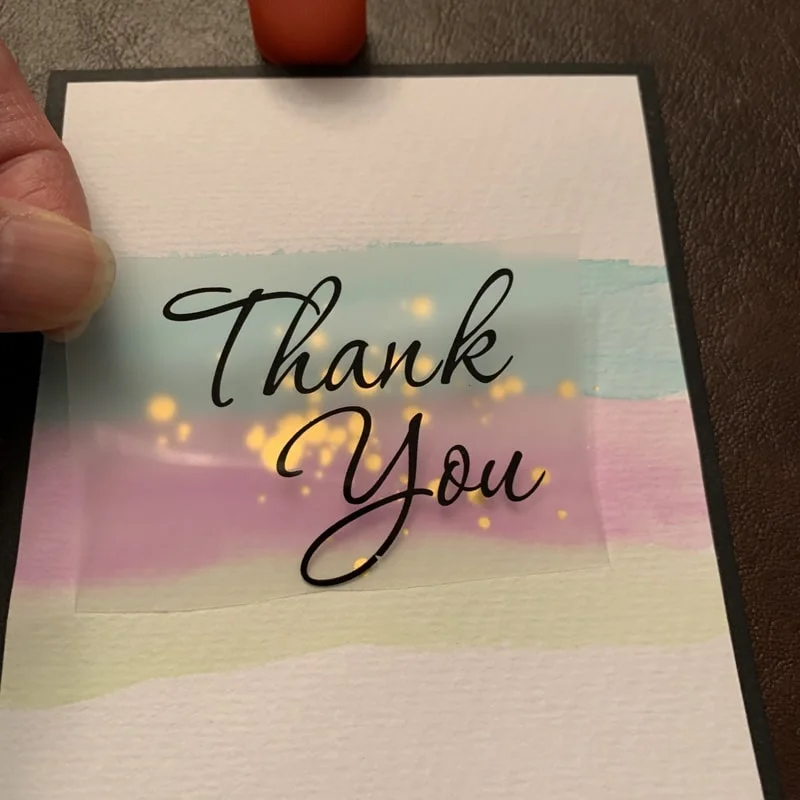
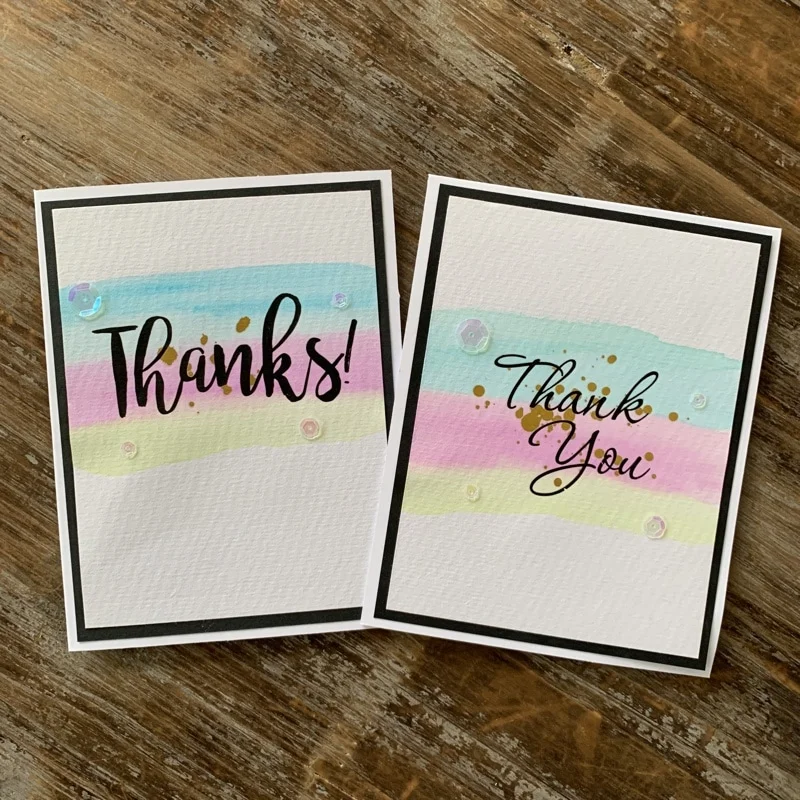
Card #3 – Thank You
This is the completed third card. I just love how simple and elegant this card looks!
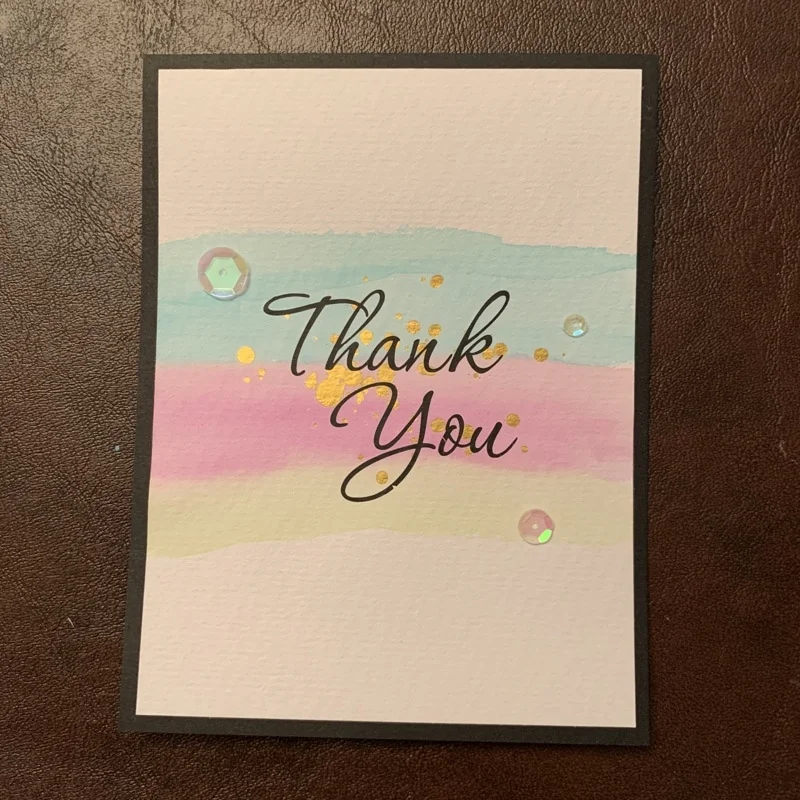
We only needed 3 colors for this watercolor background.
And the rub-on made the lettering super easy as well!
Here are the 2 cards that I made with this design.
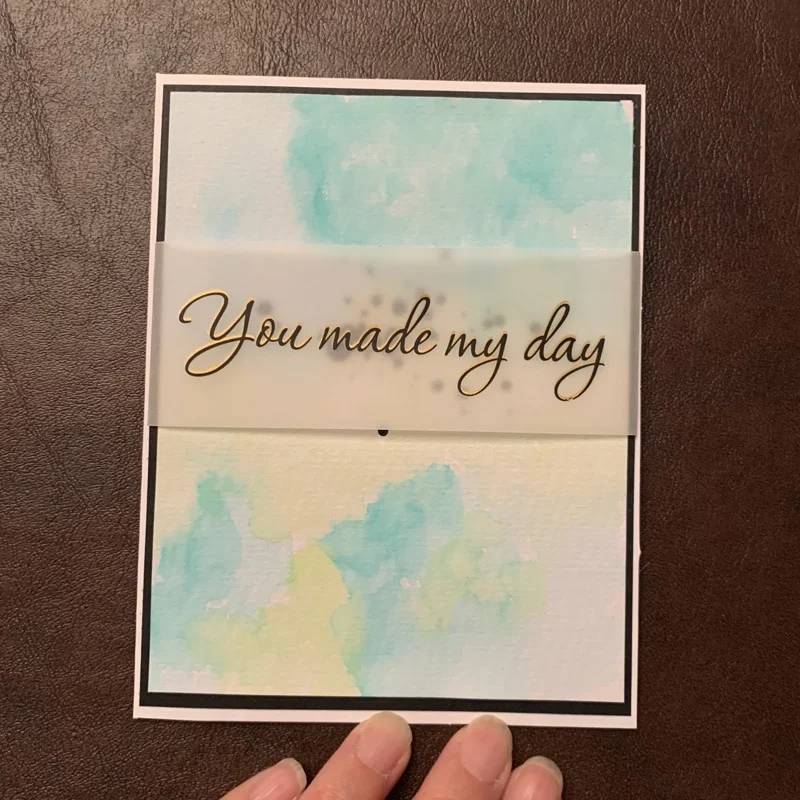
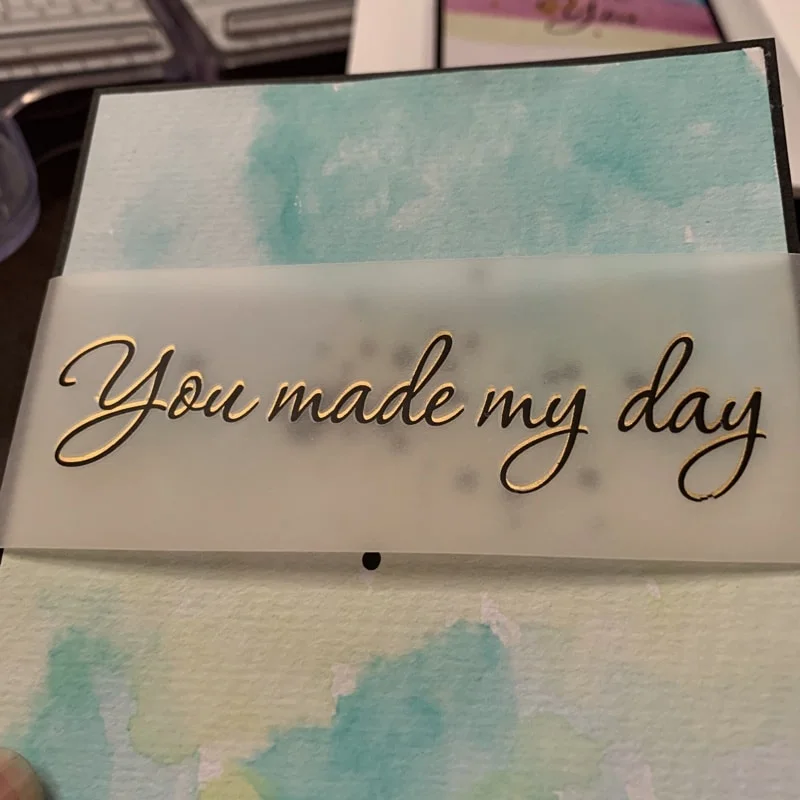
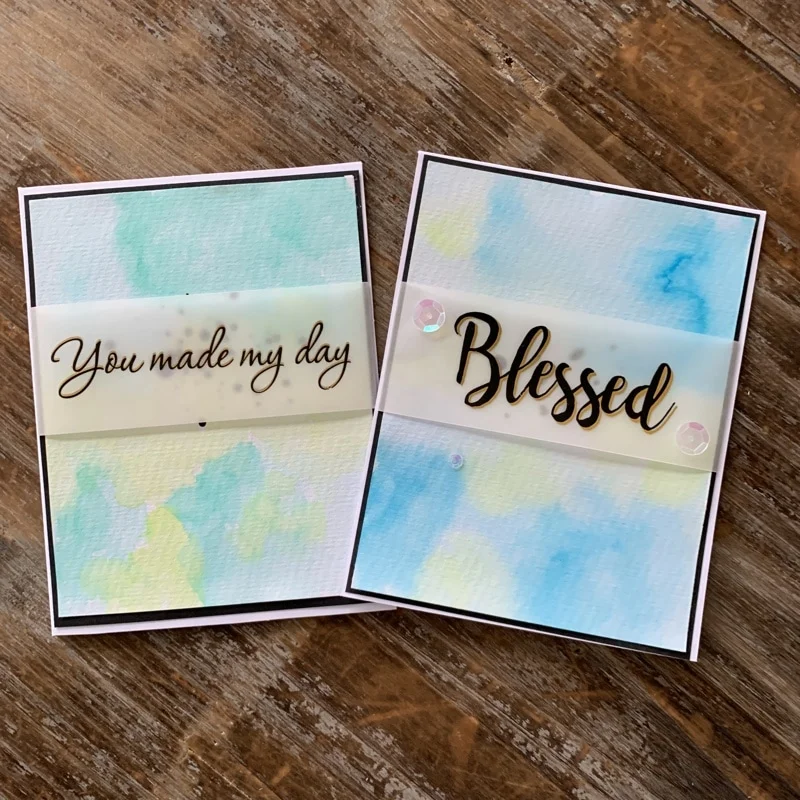
Card #4 – You Made My Day
Here is the completed fourth card.
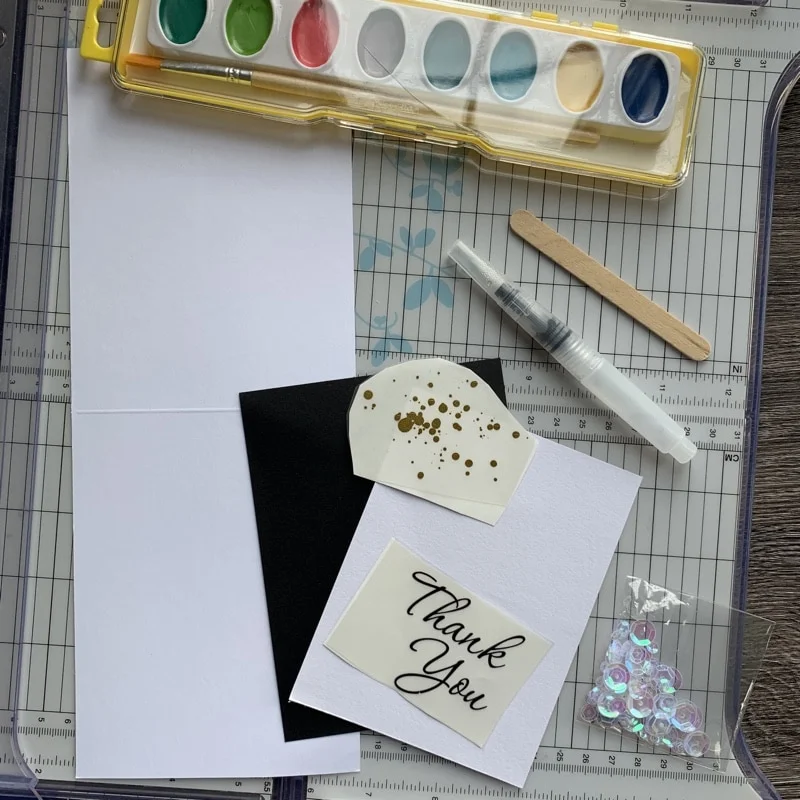
These were the materials that were needed for the fourth card.
This card used vellum to add some flair to this card.
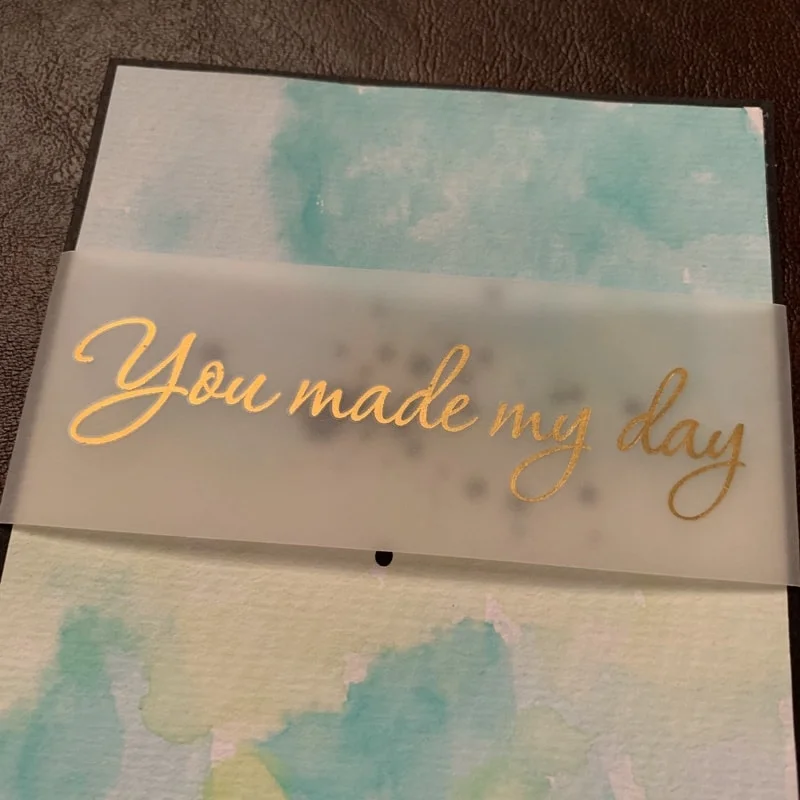
On the vellum, we used a layering technique and applied the gold rub on first, then the black lettering on top, but slightly offset.
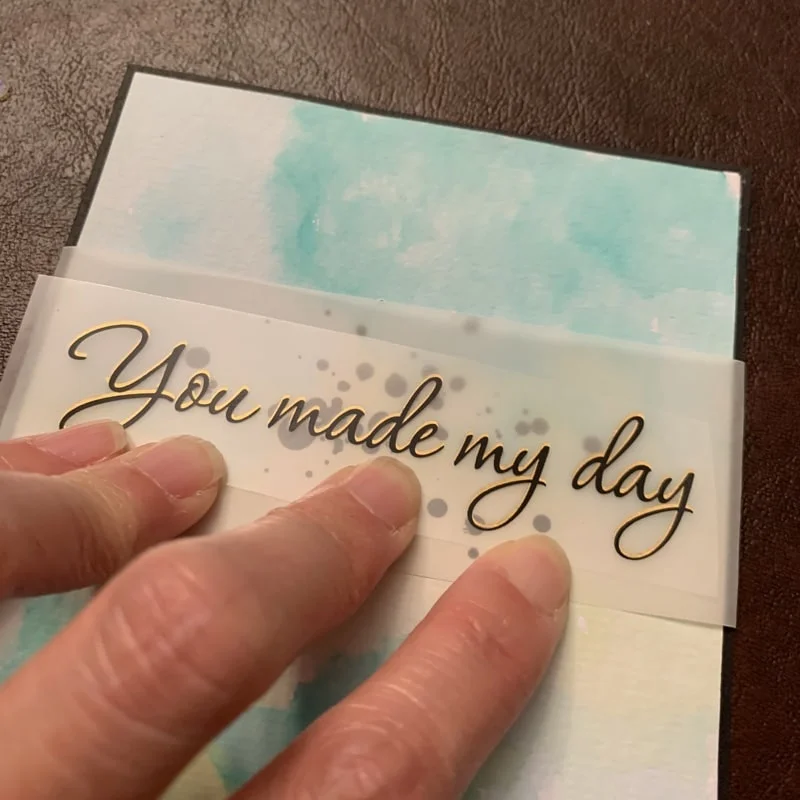
I had no idea you could layer rub-ons together! I love this look.
Here are the 2 cards with this design.
In Summary
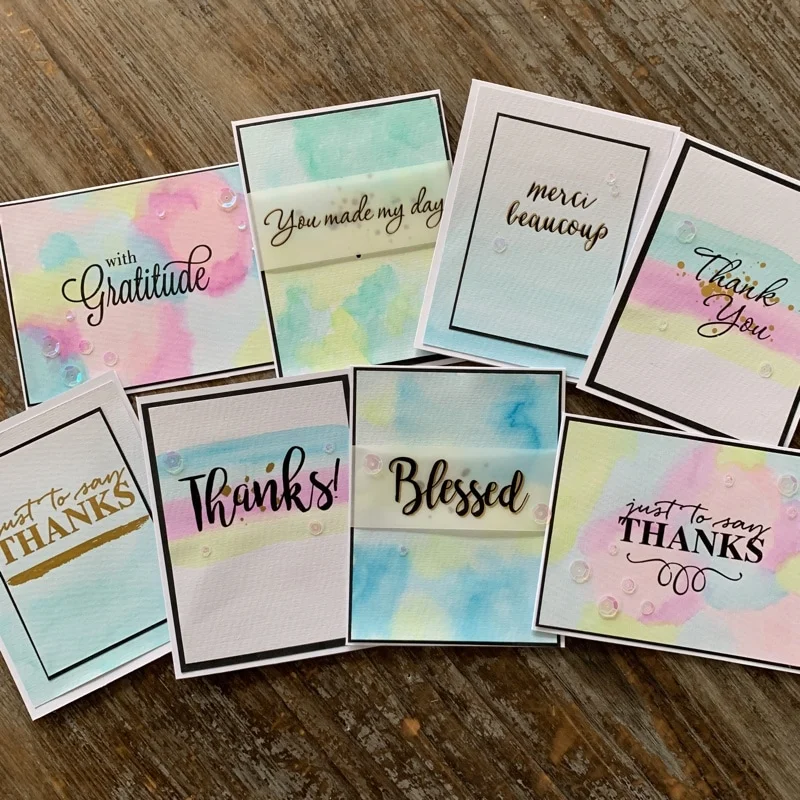
I was so happy with how these Watercolor Thank You cards turned out. The blue, pink, and green colors are amazing and the rub-on lettering give them a professional look. My kids asked if I bought these cards in the store. 🙂
Making cards provides a great creative outlet for me, and I also appreciate having a card kit with instructions so I don't have to start from a blank sheet.
What did you like most about these Thank You Cards?
DEAL #1: Get your first month for only $4.00 with coupon HOLIDAYCARD and this link! That's 80% off the normal cost!
DEAL #2: Get 50% off your first month of Annie's Card Maker Club with coupon MONTHLY15.
Check out our other Annie's Card Maker Kit-of-the-Month Club Reviews!
https:/product/annies-card-maker-club-subscription/