Today, we are reviewing our Annie's Creative Woman Kit-of-the-Month Club Countdown to Christmas Calendar Craft. I love making handmade crafts that will help me decorate my home this Christmas season!
Annie's Creative Woman Kit-of-the-Mon3th Club provides you with most of the supplies you need to make a new craft every month! You'll learn some of the most popular crafting techniques including painting, beading, needle crafts, memory crafts, soap-making, mosaics, card-making and lots, lots more!
As seen on 9 Best Annie's Kit Clubs Subscription Boxes
DEAL: Get 50% off your first month of Annie's using this link and coupon code SHARE50
As seen on 9 Best Annie's Kit Clubs Subscription Boxes.
We received this kit for review purposes. All opinions are our own.
Annie's Creative Woman Kit-of-the-Month Club Countdown to Christmas Review
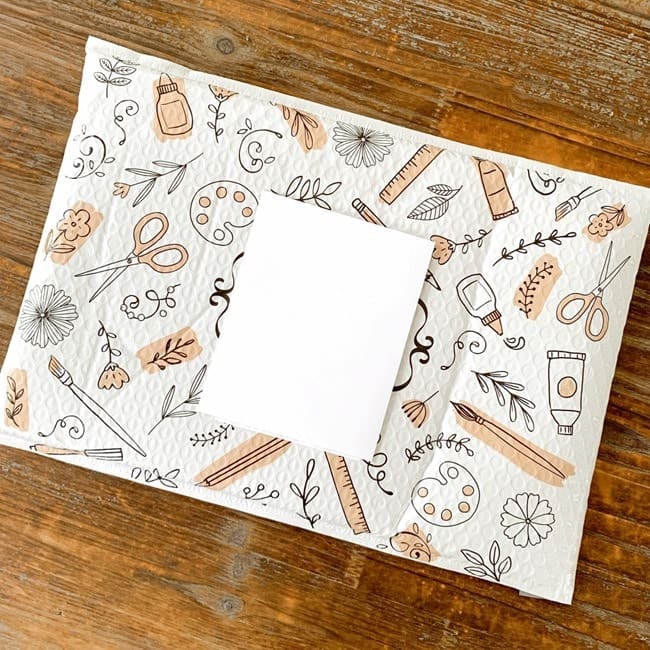
The Annie's Creative Woman Kit-of-the-Month came in an artsy-themed padded envelope. I got this kit in November – giving me plenty of time to get this done by December 1!
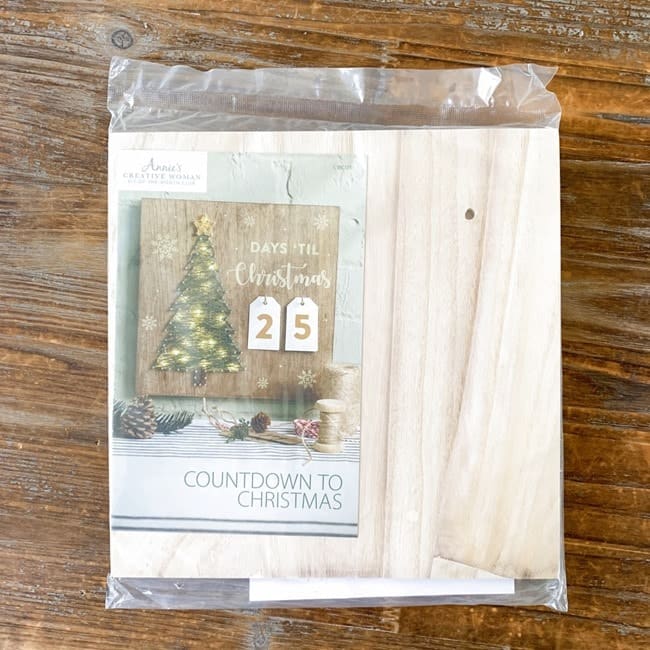
Here’s a first peek at our Annie’s Creative Woman Kit-of-the-Month Club Countdown to Christmas project! My daughter and I were so excited about this month’s project!
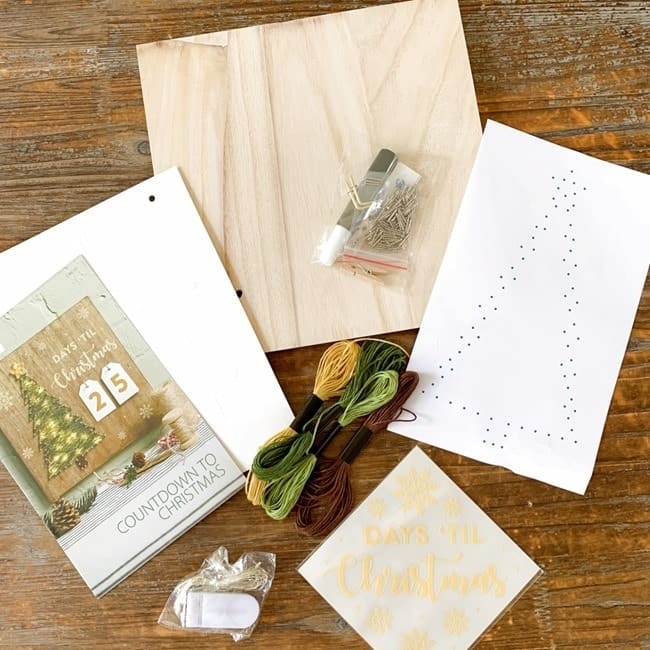
This is everything that we received in the package. A wood board, battery-powered fairy lights, embroidery floss, die cuts, gel stains, rub-ons, craft sticks, nails, L-hook screws, clothespins, hook-and-loop tape, and a tree template. We also need to provide paper towel, a hammer, a pencil, tape, and scissors.
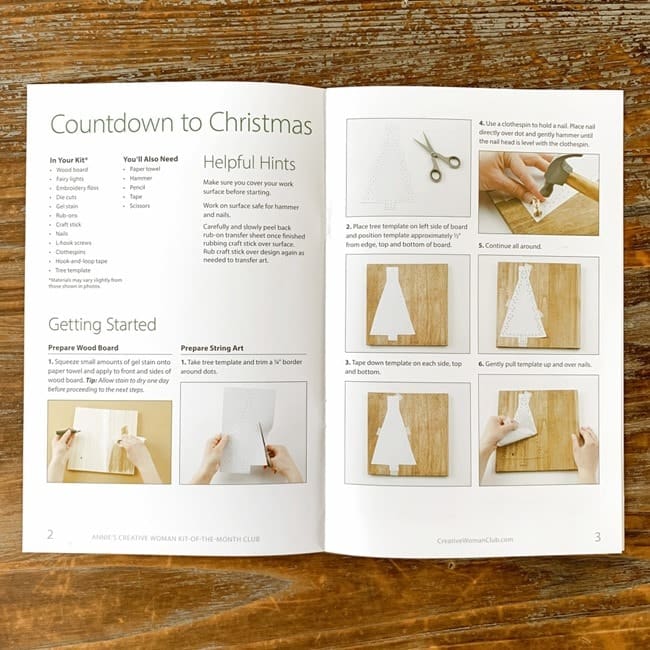
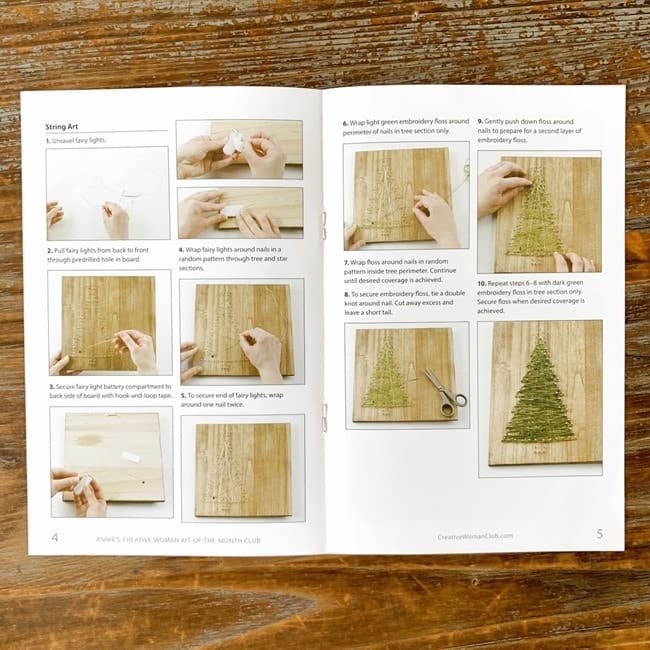
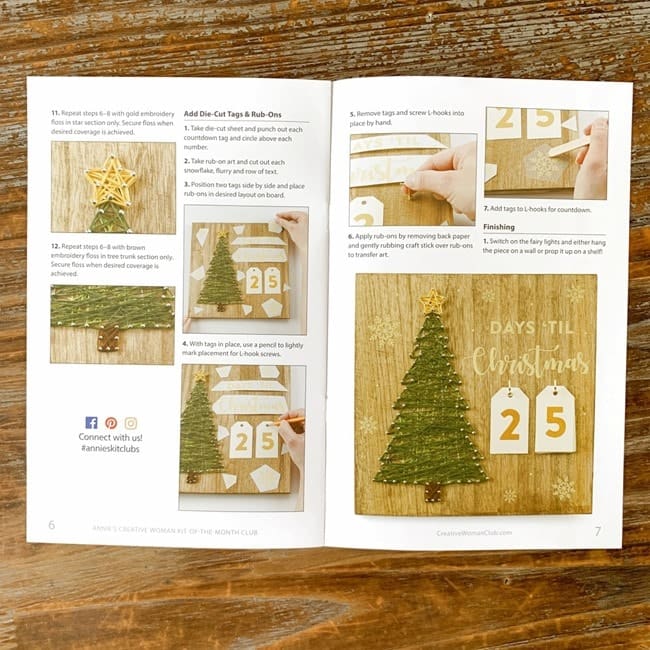
This instruction booklet has detailed instructions with colored photos to make the assembling this calendar a lot easier!
Here are the step-by-step instructions that we followed.
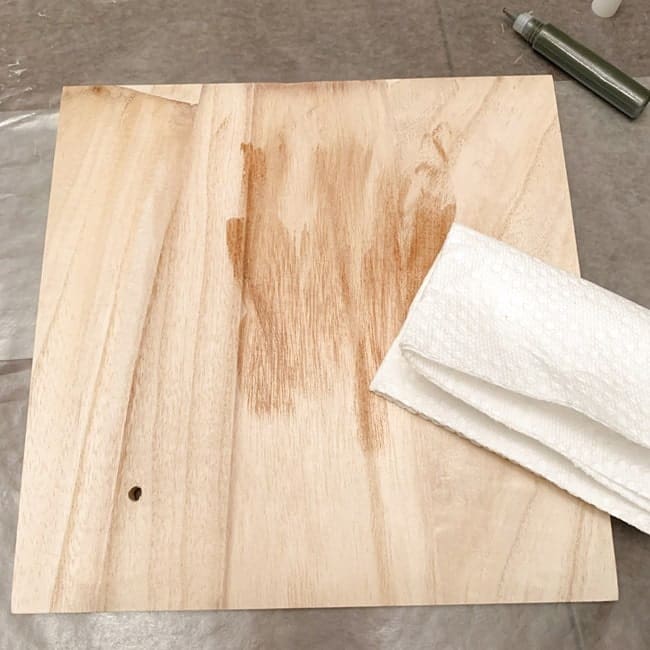
I started by applying a small amount of gel stain on the wood board using a paper towel.
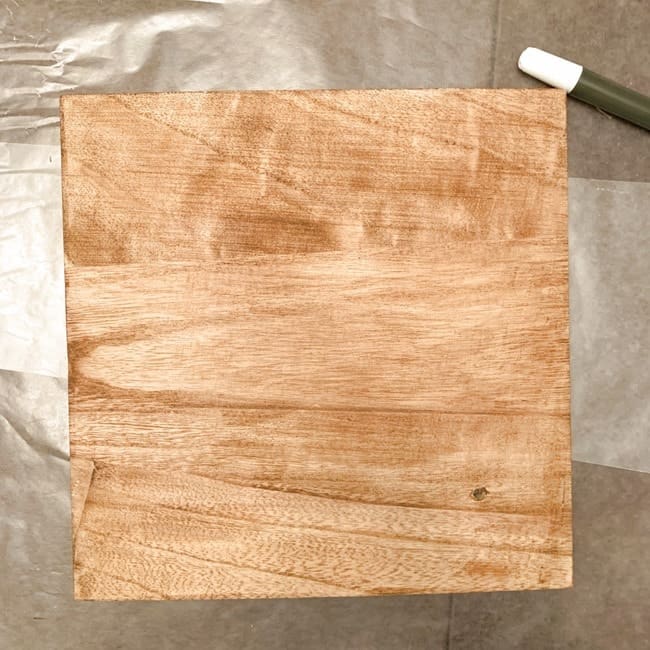
After I applied the gel stains from the front and sides of the wood board, I placed it in a safe space to work on it the next day. I haven't used this gel stain technique on natural wood before, but I will definitely be trying it again soon! I love the look!
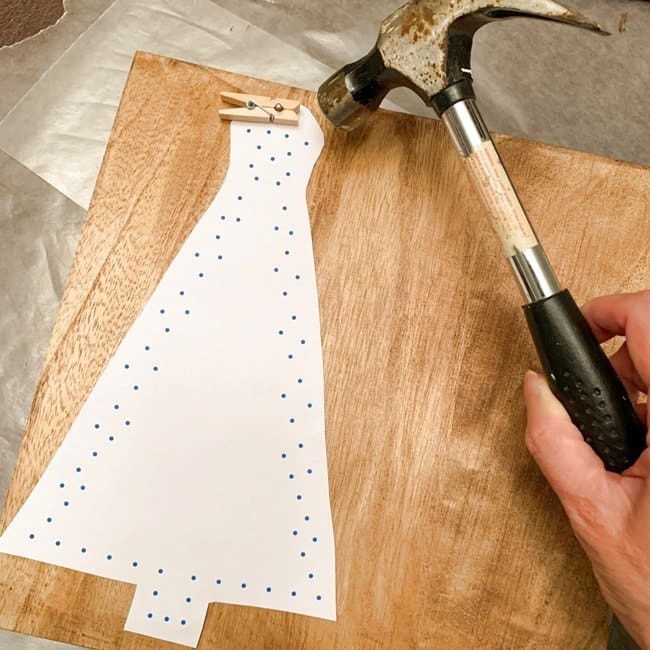
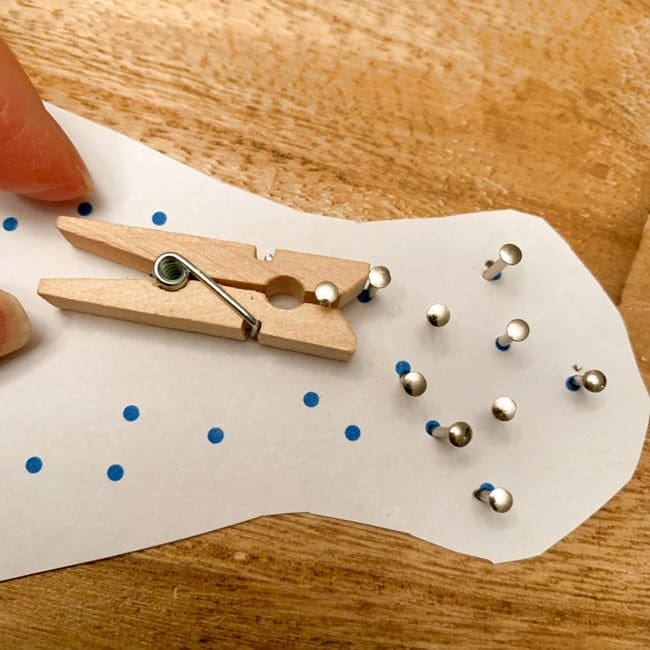
The next day, I started with positioning the tree template on the wood board. I placed a nail and used a clothespin to hold it while I tapped the nail head using a hammer.
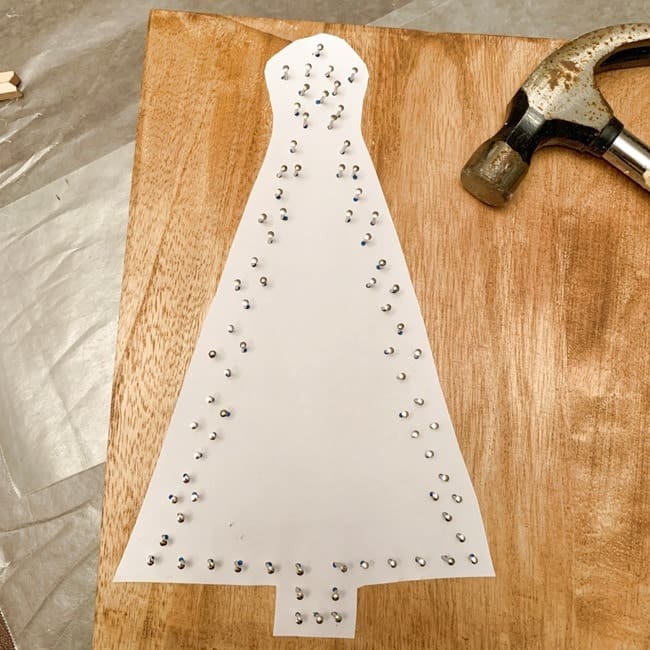
By following the same steps, we put nails all around the tree template! I do have to say that after tapping a few nails in, I grabbed a pair of needle nose pliers to make the holding and tapping go much faster!
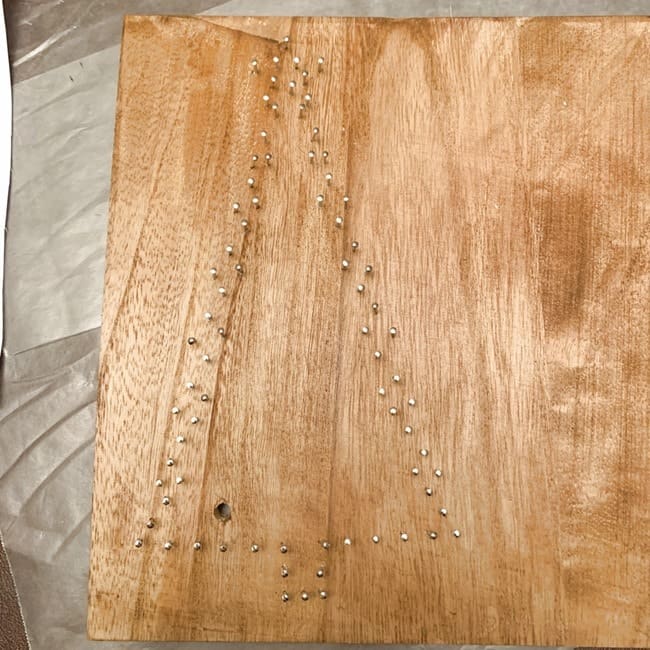
And now, I was done placing the nails in all the right places!
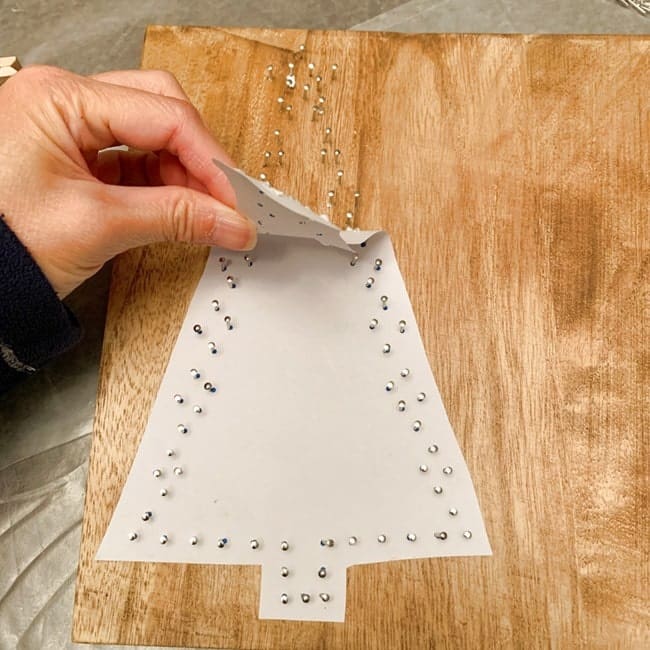
Then I gently pulled the tree template up.
Here are the nails formed into a Christmas tree!
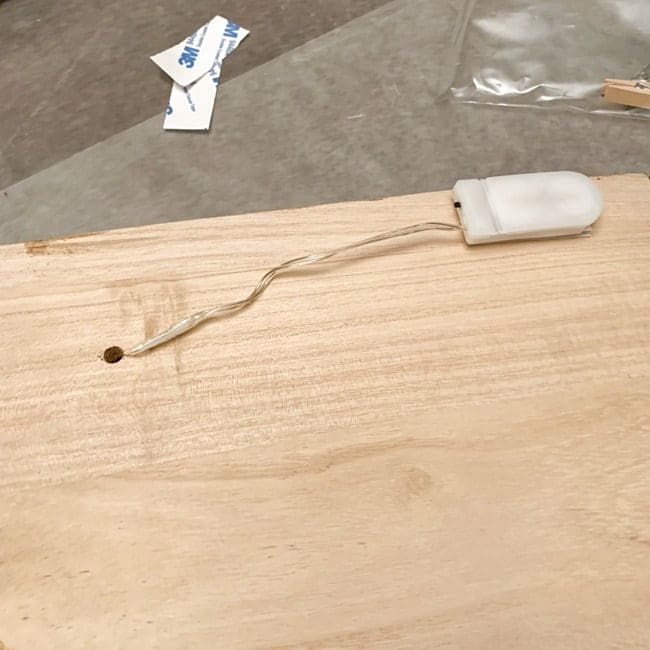
I then placed the fairy light battery compartment at the back side of the wood board using hook-and-loop tape.
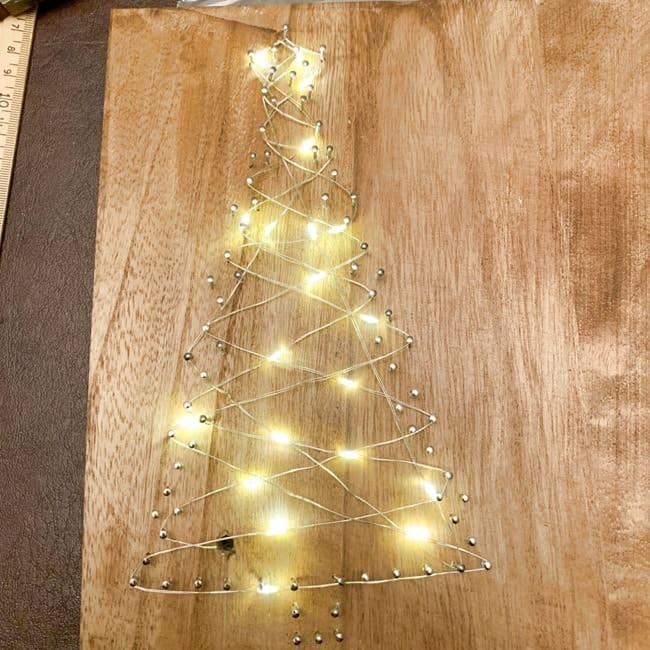
My daughter wrapped the fairy lights into the nails in a random pattern to form tree and star sections. She even made sure to wrap around one nail twice. After, I that we turned on the fairy lights – and wow! It looks nice!
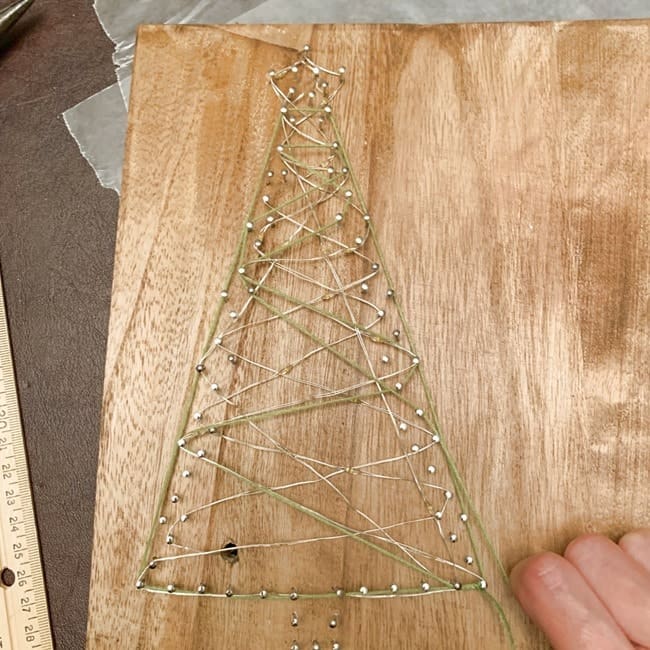
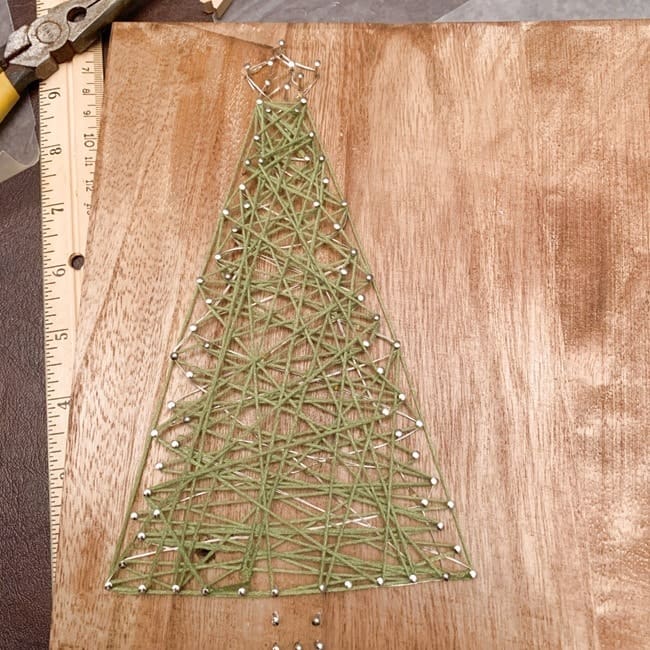
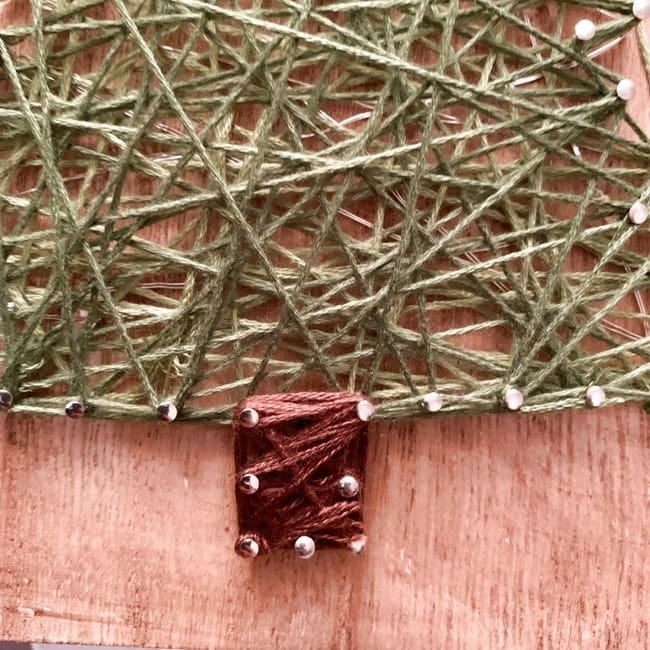
I used the light green embroidery floss to outline the tree and also placed it in a random pattern.
I left a short tail of the embroidery floss and gently pushed the floss down on the nails to make room for the second layer of floss.
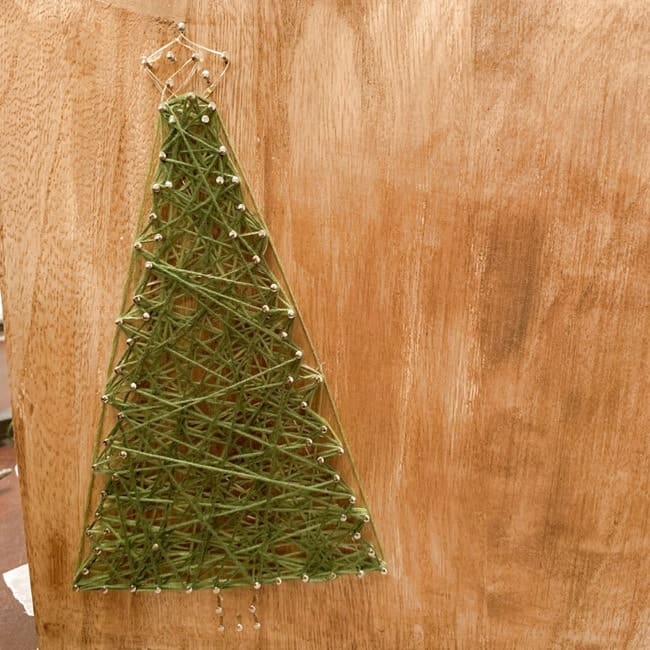
We repeated the same steps to create the random pattern, using the darker green embroidery floss until we reached our desired coverage!
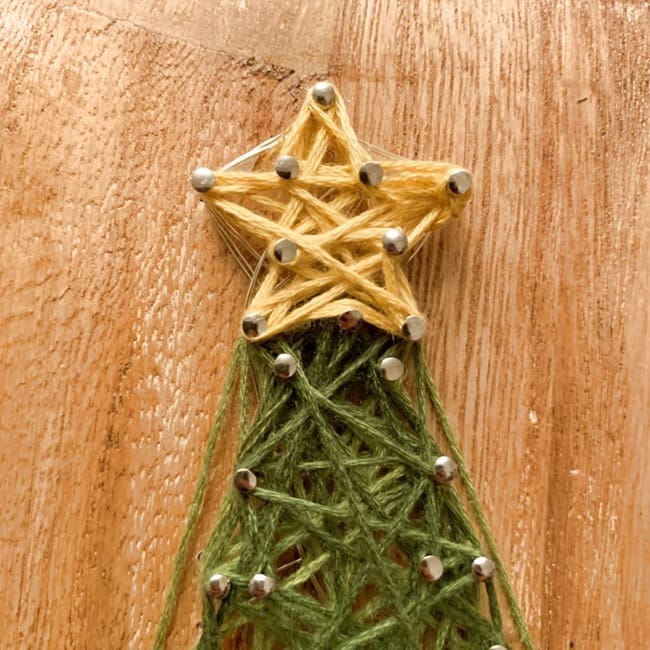
In the top part of the tree, my daughter wrapped a gold embroidery floss randomly.
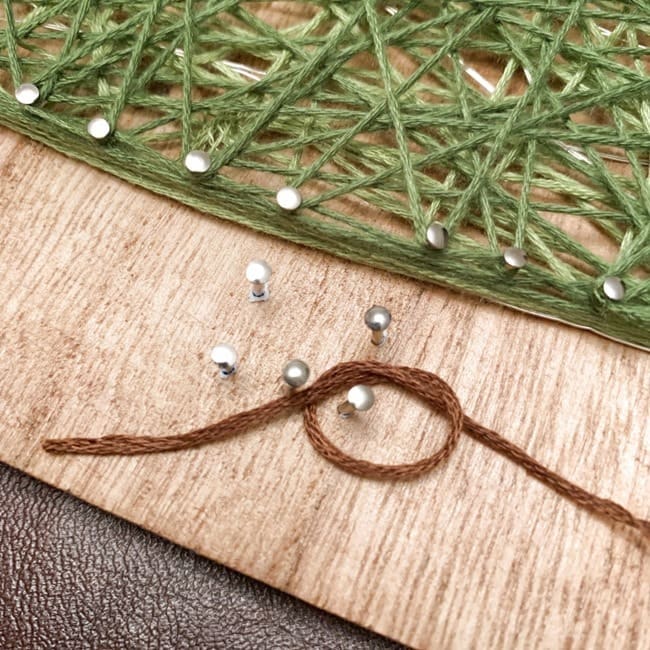
And I wrapped the brown embroidery floss randomly in the tree trunk part.
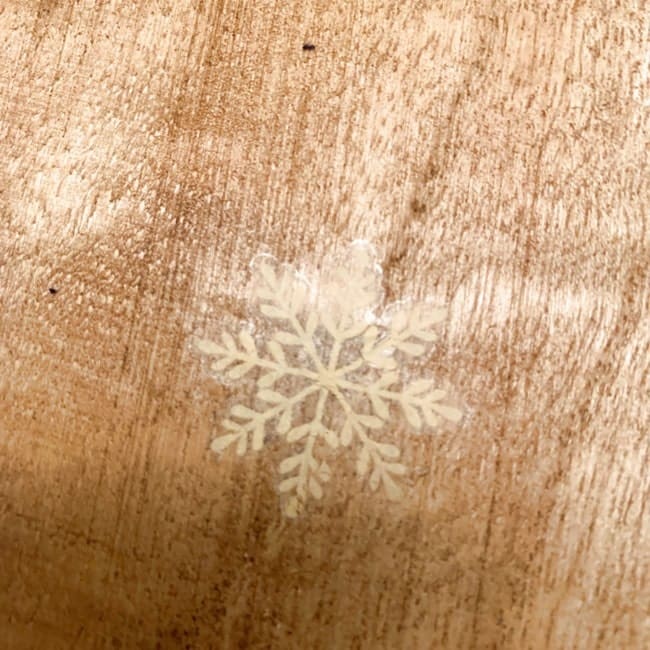
To complete this project, we position all the countdown decals in the right places – such as the snowflakes and row of text.
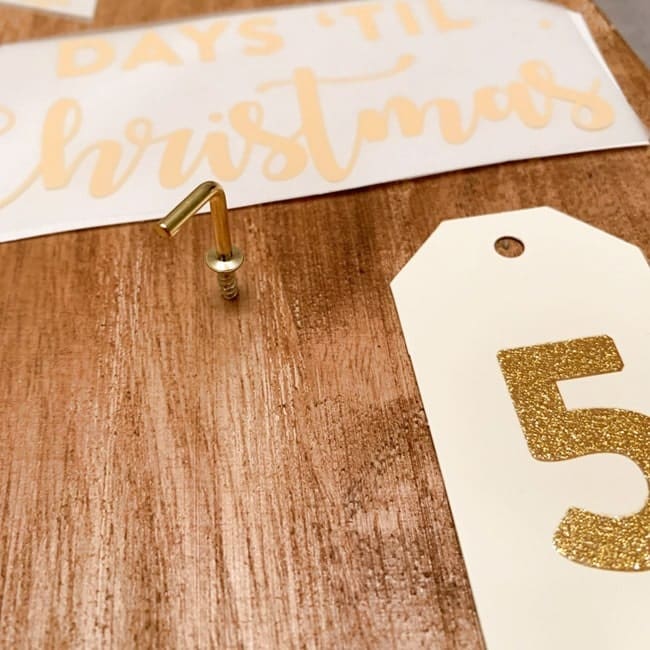
I used a pencil to mark where the screws should go to hold the countdown tags. Then I screwed the L-hooks onto the countdown tag position.
This is what the L-hooks looked like once I screwed them in.
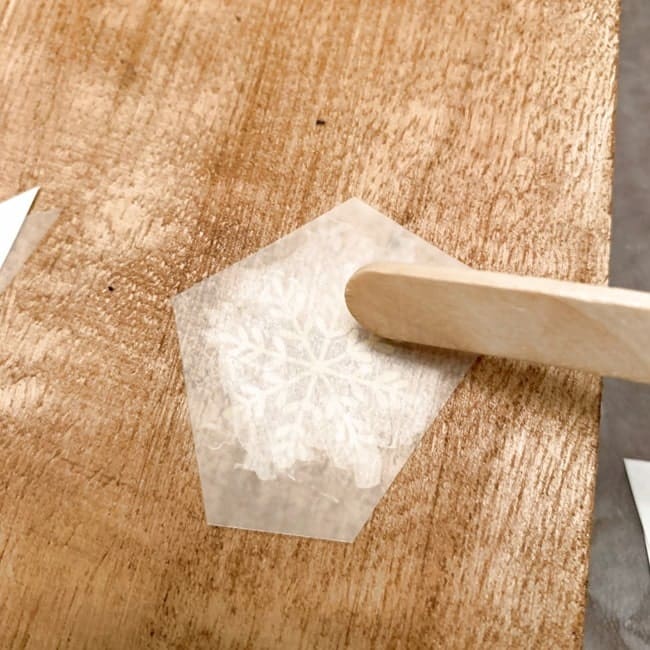
My daughter applied the decals using a wooden stick.
I made sure to lift the backing on the decal paper slowly in case I missed rubbing any spots!
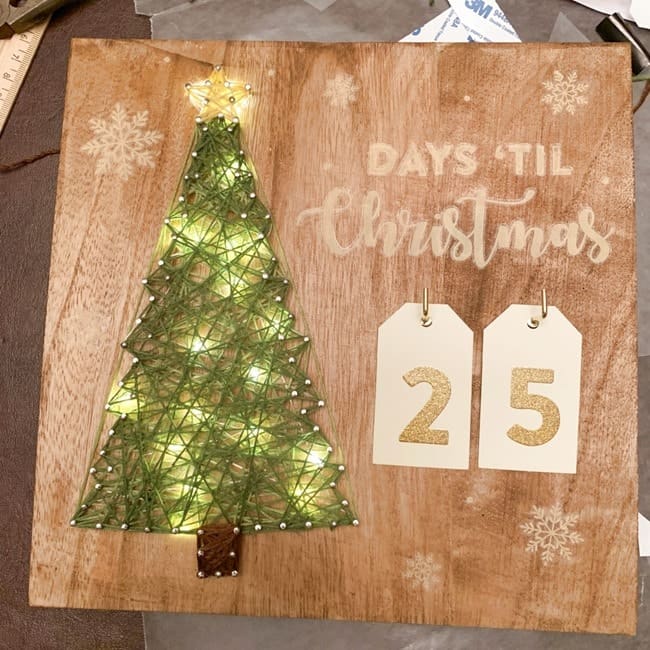
Here’s our finished Countdown to Christmas Calendar! It looks amazing!
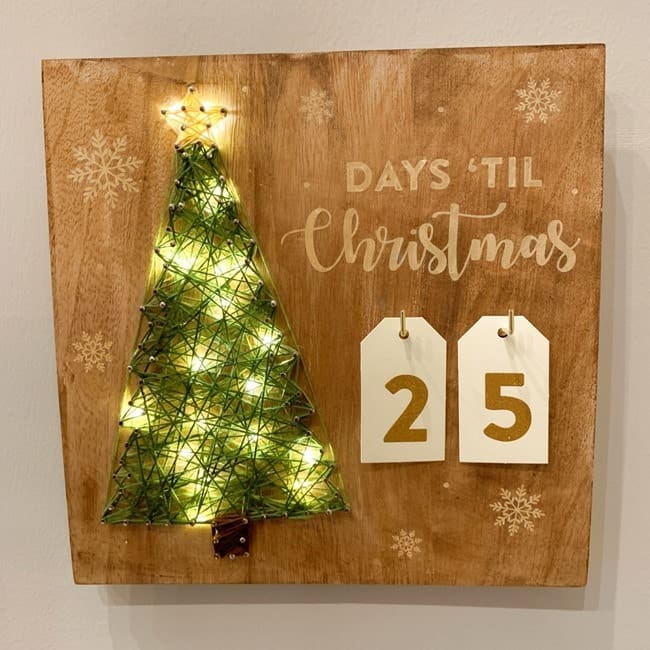
This is how it looks like when the fairy lights are turned on! My kids love it!
Here’s how it looks like during the day!
We decided to hang it in our family room and just started using it today! a Christmas Countdown makes anticipating the big day so much more fun!
Wrap Up
My daughter and I loved how this Annie's Countdown to Christmas Calendar project turned out! This was my very first string art project and I do love how this project turned out. I particularly liked the fairly lights that made the tree so much more festive! I like how Annie's made it easy for us to do this project by sending us the craft materials and the detailed instruction booklet that made it fun and easy. We hung it in our family room to help us countdown to this month's big day! We’re so excited for our next Annie’s Creative Woman Kit-of-the-Month Club project!
What do you think of Annie's Creative Woman Kit-of-the-Month Club Countdown to Christmas Project?
DEAL: Get 50% off your first month of Annie's using this link and coupon code SHARE50
Learn more or subscribe to the Annie’s Creative Woman Kit-of-the-Month Club here!
Annie's Creative Woman Kit-of-the-Month Club provides you with most of the supplies you need to make a new craft every month! You'll learn some of the most popular crafting techniques including painting, beading, needle crafts, memory crafts, soap-making, mosaics, card-making and lots, lots more!
As seen on 9 Best Annie's Kit Clubs Subscription Boxes
Ships to: Canada, US
Shipping Cost: $5.95 (US), $6.95 (Canada)
Annie’s Creative Woman Kit-of-the-Month Club
Annie's Creative Woman Kit-of-the-Month Club provides you with most of the supplies you need to make a new craft every month! You'll learn some of the most popular crafting techniques including painting, beading, needle crafts, memory crafts, soap-making, mosaics, card-making and lots, lots more!
As seen on 9 Best Annie's Kit Clubs Subscription Boxes
DEAL:
Get 50% off your first month of Annie's Kit Clubs using this link (no coupon code needed!)
Annie's Creative Woman Kit of the Month Club Reviews


